The Essential Guide to Recessed Lighting Selection
Choosing the right recessed lighting fixtures is essential for achieving the ideal illumination and enhancing the overall design of your space. Factors such as the room’s dimensions, ceiling height, and the purpose of the lighting should guide your selection. LED recessed lights have become especially popular due to their low energy consumption, impressive longevity, and ability to deliver consistent, high-quality lighting over time.
Understanding Different Types of Recessed Lights
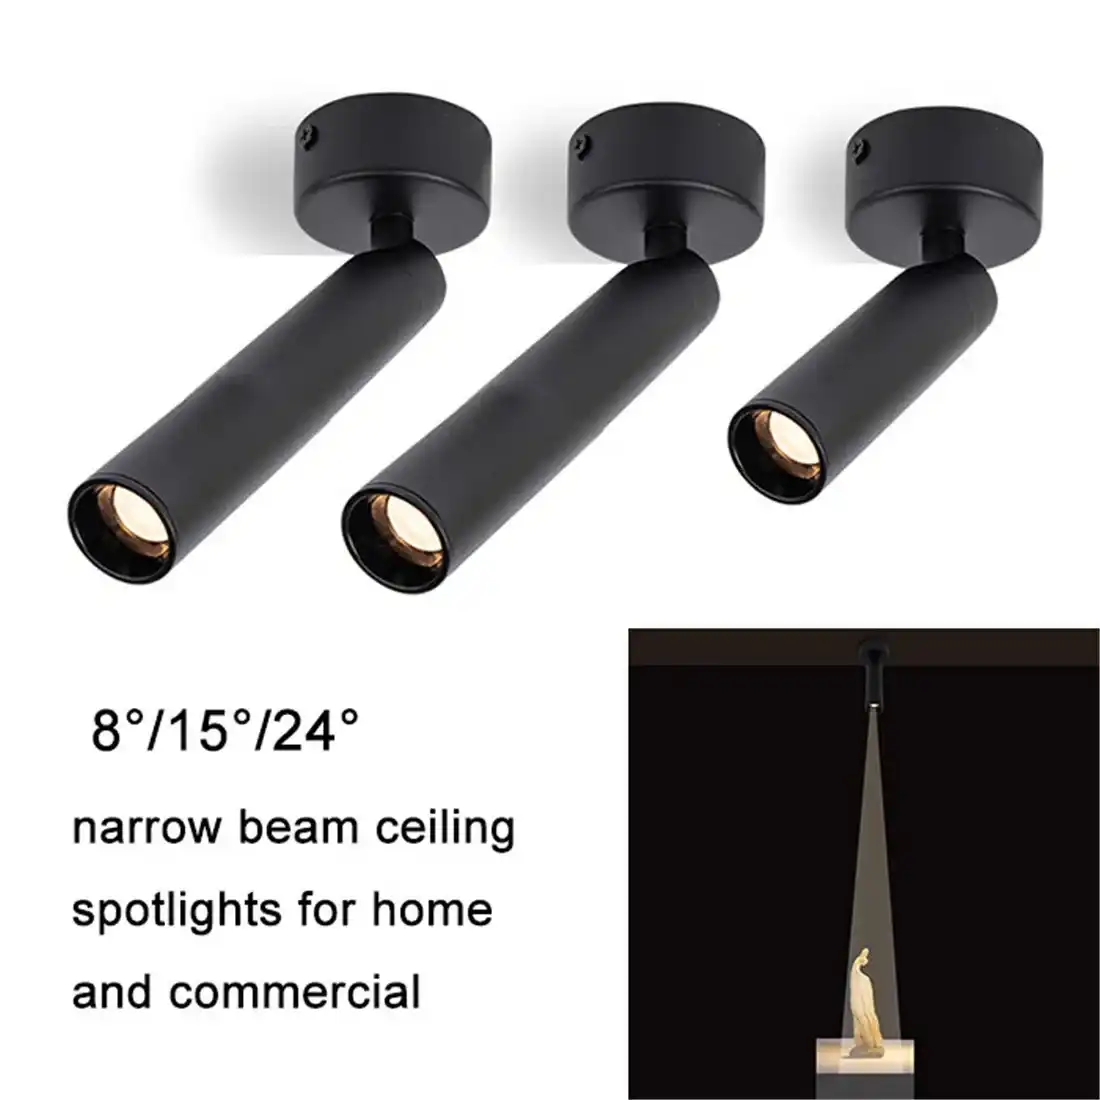
Recessed lighting comes in several types, each tailored to specific needs. New construction cans are suitable for homes in the building phase or undergoing major renovations where ceilings are open. Remodel housings are best for existing ceilings with minimal disruption. Canless LED fixtures, with their slim and modern design, are excellent choices for spaces with restricted ceiling depth, offering both functional illumination and contemporary aesthetics.
Determining the Appropriate Size and Wattage
The size of recessed lights significantly impacts light coverage and visual appeal. Common residential options range from 3 to 6 inches in diameter. Smaller lights are great for highlighting features or use in compact areas, while larger fixtures provide broad, general lighting. Thanks to LED technology, you can achieve bright illumination at lower wattages, typically between 9 and 25 watts, reducing both electricity usage and long-term costs.
Choosing the Right Color Temperature
Color temperature greatly influences the ambiance of a room. Warm white light (2700K–3000K) produces a soft, inviting glow, perfect for living rooms or bedrooms. Neutral white (3500K–4000K) offers a balanced tone, ideal for kitchens and bathrooms. Cool white light (5000K–6500K) creates a crisp, bright effect, making it suitable for task-driven environments like home offices, workshops, or garages, where clarity and focus are most important.
Step-by-Step Guide to Installing Recessed Lighting

Now that you've selected your recessed lighting fixtures, it's time to dive into the installation process. Follow these six steps to successfully install your downlights:
Step 1: Plan Your Layout
Before cutting into your ceiling, create a detailed plan of where you want to place your recessed lights. Use a tape measure and pencil to mark the locations, ensuring even spacing and optimal coverage. Consider the room's function and any focal points you want to highlight.
Step 2: Turn Off the Power
Safety is paramount when working with electricity. Locate your home's circuit breaker and turn off the power to the area where you'll be installing the lights. Use a voltage tester to confirm that the power is indeed off before proceeding.
Step 3: Cut the Ceiling Holes
Using the template provided with your recessed lighting kit, trace the outline on the ceiling at your marked locations. Carefully cut along the traced lines with a drywall saw. Be mindful of any obstacles in the ceiling, such as joists or existing wiring.
Step 4: Install the Housing
Insert the recessed light housing through the hole and secure it according to the manufacturer's instructions. Most housings have clips or brackets that hold them in place against the ceiling drywall.
Step 5: Wire the Lights
Connect the wiring from your electrical box to the recessed light fixture. Typically, you'll need to connect black to black (hot), white to white (neutral), and green or bare copper to green (ground). Use wire nuts to secure the connections and tuck them neatly into the junction box.
Step 6: Install the Trim and Bulb
Once the wiring is complete, install the trim ring by pushing it up into the housing until it's flush with the ceiling. Then, insert the appropriate bulb for your fixture. If you're using an integrated LED downlight, this step may be combined with the housing installation.
Maximizing the Impact of Your Recessed Lighting
With your recessed lights installed, it's time to fine-tune your lighting setup to create the perfect ambiance in your space.
Layering Your Lighting
Recessed lighting works best when combined with other light sources. Consider incorporating task lighting, such as under-cabinet lights in kitchens, or accent lighting like wall sconces in living areas. This layered approach creates depth and allows for versatile lighting scenarios.
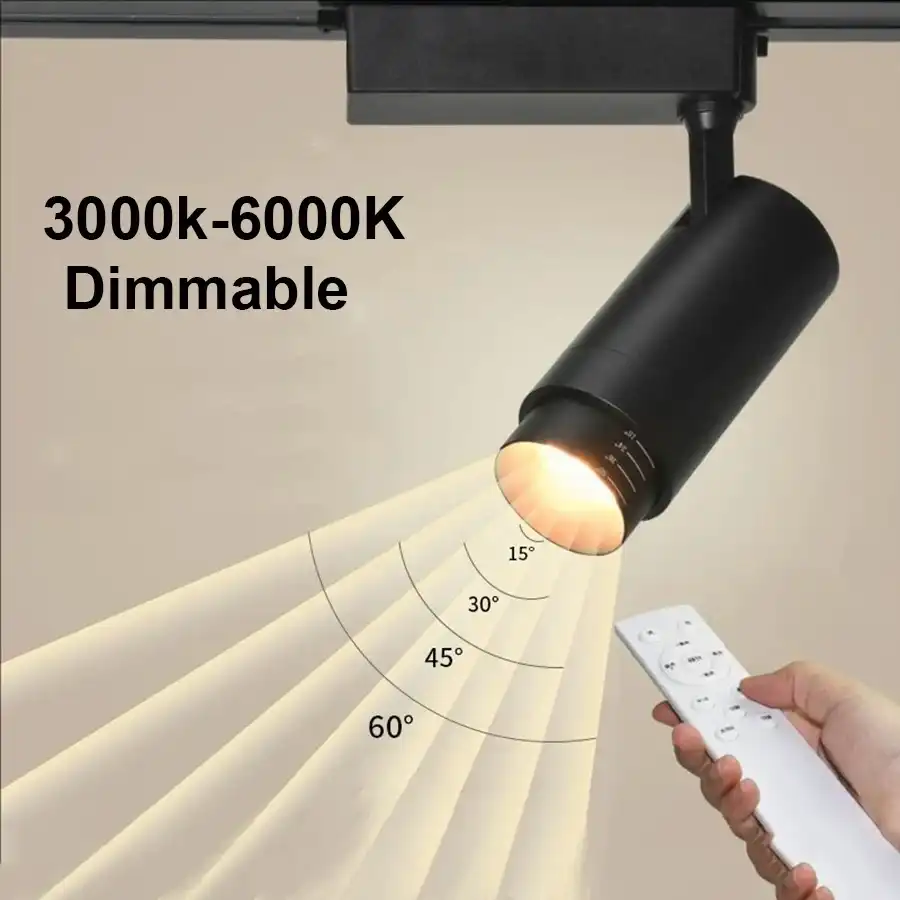
Implementing Dimmer Switches
Installing dimmer switches gives you ultimate control over your recessed lighting. Dimmers allow you to adjust the brightness to suit different moods or activities, enhancing the functionality and energy efficiency of your lighting system.
Regular Maintenance for Longevity
To ensure your recessed lighting continues to perform optimally, conduct regular maintenance. This includes dusting the fixtures, checking for any loose connections, and replacing bulbs as needed. With proper care, your DIY recessed lighting installation can provide beautiful illumination for years to come.

Conclusion
Installing recessed lighting is a transformative DIY project that can significantly enhance the look and feel of your home. By following these six simple steps and considering the nuances of lighting design, you can create a custom lighting solution that meets your specific needs and preferences. Remember to prioritize safety throughout the installation process and consult a professional electrician if you encounter any complexities beyond your expertise. For more information on high-quality LED recessed lighting options and expert advice, don't hesitate to reach out to us at sales@uskyled.com.

![What is Dimmable Track Lighting for Museum: Best Guide [2025]](/icms/upload/0d08cc601e7611f0b542b3ca0c0f4a83/pic/knowledgemanager-knowledgepic/e7879f32605f11f081911f363b8c1ed0/Directory/20250717 dimmable track lighting -1(1)_1752739217941.webp)