How do you connect flexible LED strip lights?
Connecting flexible LED strip lights is a straightforward process that can transform any space with vibrant illumination. To begin, ensure you have all the necessary components: the LED strip, a compatible power supply, and connectors if needed. First, measure and cut the LED strip to your desired length, making sure to cut along the designated markers. Next, connect the strip to the power supply, typically by attaching the positive and negative wires to the corresponding terminals. If using multiple strips, utilize connectors or soldering techniques to join them. Finally, secure the strip in place using the adhesive backing or mounting clips, and plug in the power supply to illuminate your space with the versatile glow of flexible LED strip lights.

Introducing Flexible LED Strip Lights
What are Flexible LED Strip Lights?
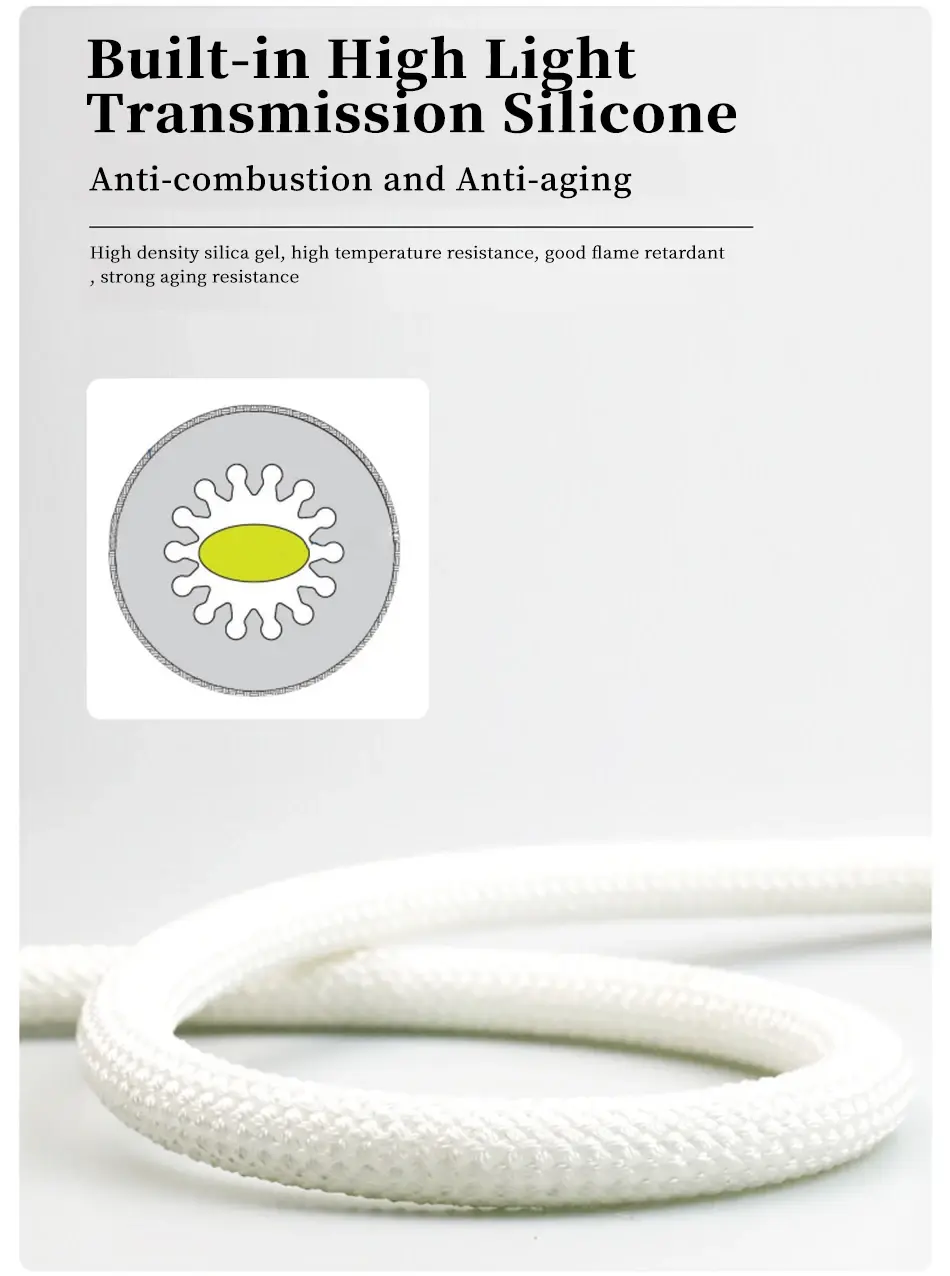
Flexible LED strip lights are versatile lighting solutions that consist of a series of light-emitting diodes (LEDs) mounted on a flexible circuit board. These strips can be easily bent, cut, and shaped to fit various applications, making them a popular choice for both residential and commercial lighting projects. The flexibility of these strips allows for creative lighting designs in spaces where traditional lighting fixtures may not be suitable.
Types of Flexible LED Strip Lights
There are several types of flexible LED strip lights available in the market, each with its own unique features and applications:
- Single-color strips: These emit light in a single color, such as warm white, cool white, or a specific hue.
- RGB strips: These can produce a range of colors by combining red, green, and blue LEDs.
- RGBW strips: Similar to RGB strips but with an additional white LED for more accurate color reproduction.
- Tunable white strips: These allow users to adjust the color temperature from warm to cool white.
- Waterproof strips: Designed for outdoor use or in areas with high humidity.
When selecting flexible LED strip lights, it's crucial to consider factors such as voltage requirements (typically 12V or 24V), LED density (measured in LEDs per meter), and brightness (measured in lumens). The IP rating is also important, especially for outdoor or moisture-prone installations. For instance, IP65 or IP67 rated strips offer protection against dust and water ingress.
Benefits of Using Flexible LED Strip Lights
Flexible LED strip lights offer numerous advantages over traditional lighting solutions:
- Energy efficiency: LEDs consume significantly less power than incandescent or fluorescent lights.
- Longevity: High-quality LED strips can last for tens of thousands of hours.
- Versatility: They can be used for accent lighting, task lighting, or general illumination.
- Easy installation: Most strips come with an adhesive backing for simple mounting.
- Customizability: Strips can be cut to specific lengths and connected to create custom designs.
- Low heat emission: LEDs produce minimal heat, making them safe for use in confined spaces.
- Dimmable options: Many LED strips can be dimmed for mood lighting or energy saving.
These benefits make flexible LED strip lights an excellent choice for a wide range of applications, from under-cabinet lighting in kitchens to accent lighting in retail displays.

Preparing for Installation
Tools and Materials Needed
Before embarking on your flexible LED strip light installation, it's essential to gather all the necessary tools and materials. This preparation will ensure a smooth and efficient installation process. Here's a comprehensive list of what you'll need:
- Flexible LED strip lights
- Compatible power supply (ensure it matches the voltage of your LED strips)
- Connectors (if joining multiple strips)
- Wire strippers
- Scissors or sharp utility knife
- Measuring tape
- Electrical tape
- Soldering iron and solder (for more permanent connections)
- Heat shrink tubing (for waterproofing connections)
- Mounting clips or channels (if not using the adhesive backing)
- Screwdriver
- Optional: LED controllers or dimmers
Having these tools and materials on hand will help you tackle any challenges that may arise during the installation process.
Planning Your Layout
Proper planning is crucial for a successful flexible LED strip light installation. Consider the following steps when planning your layout:
1. Measure the area where you intend to install the LED strips.
2. Sketch a diagram of your desired lighting layout, including any corners or turns.
3. Determine the total length of LED strips needed, accounting for any gaps or breaks in the installation.
4. Identify the locations of power outlets and plan the routing of wires.
5. Consider the placement of controllers or dimmers if you're using them.
6. Decide on the mounting method: adhesive backing, mounting clips, or channels.
7. Plan for any potential obstacles or areas that may require special attention.
By carefully planning your layout, you can avoid potential issues and ensure that your flexible LED strip lights are installed in the most effective and visually appealing manner.
Safety Considerations
Safety should always be a top priority when working with electrical components. Keep these safety considerations in mind:
- Always disconnect the power supply before working on the LED strips.
- Ensure that your power supply is compatible with the voltage requirements of your LED strips.
- Avoid overloading the power supply by calculating the total power consumption of your LED strips.
- Use proper insulation techniques for all electrical connections.
- If working in damp areas, use waterproof LED strips and ensure all connections are properly sealed.
- Follow local electrical codes and regulations.
- If you're unsure about any aspect of the installation, consult a professional electrician.

Step-by-Step Installation Guide
Preparing the Surface
Before installing your flexible LED strip lights, it's crucial to prepare the surface properly. This ensures optimal adhesion and longevity of your installation. Follow these steps:
1. Clean the surface thoroughly using a mild detergent or isopropyl alcohol to remove any dirt, dust, or oils.
2. Dry the surface completely with a lint-free cloth.
3. If the surface is uneven or porous, consider using a primer or sealant to create a smooth base.
4. Mark the installation path using painter's tape or a pencil, following your planned layout.
5. If using mounting clips or channels, install these before proceeding with the LED strip installation.
A well-prepared surface will ensure that your flexible LED strip lights adhere properly and remain in place for an extended period.
Cutting and Connecting LED Strips
Flexible LED strip lights can be customized to fit your specific needs. Here's how to cut and connect them:
1. Identify the cutting points on the LED strip, usually marked with a scissor icon or a copper-colored section.
2. Measure carefully and use sharp scissors or a utility knife to make a clean cut perpendicular to the strip.
3. If connecting multiple strips, use appropriate connectors or solder the connections:
- For solderless connections, align the arrows or markings on the connector with those on the strip and secure.
- For soldered connections, strip the wires, tin them with solder, and then join them securely.
4. If creating turns or angles, use flexible connectors or create a loop with the strip to maintain electrical continuity.
5. For waterproof installations, use silicone sealant or heat shrink tubing to protect the connections.
Mounting the LED Strips
With the surface prepared and strips cut to size, you can now mount your flexible LED strip lights:
1. If using the adhesive backing:
- Peel off the protective layer from the back of the LED strip.
- Carefully align the strip with your marked path and press firmly to adhere.
- Work in small sections to ensure proper alignment and adhesion.
2. If using mounting clips or channels:
- Secure the clips or channels along your marked path using screws or strong adhesive.
- Snap or slide the LED strip into place within the clips or channels.
3. For corners or curves:
- Use flexible connectors or create gentle loops to navigate turns without stressing the strip.
- Secure any loose sections with additional adhesive or clips as needed.
4. Ensure that the entire length of the strip is securely mounted to prevent sagging or peeling over time.
Connecting to Power and Controllers
The final step in installing your flexible LED strip lights is connecting them to a power source and any controllers:
1. Connect the LED strip to the power supply:
- Match the positive and negative terminals on the strip to the corresponding outputs on the power supply.
- Use appropriate connectors or solder the connections securely.
2. If using a controller or dimmer:
- Connect the controller between the power supply and the LED strip.
- Follow the manufacturer's instructions for proper wiring and setup.
3. Secure all connections with electrical tape or heat shrink tubing to prevent short circuits.
4. Organize and conceal any excess wiring for a clean appearance.
5. Double-check all connections before plugging in the power supply.
6. Test the installation to ensure all sections are functioning correctly.
Conclusion
Installing flexible LED strip lights can significantly enhance the ambiance and functionality of any space. By following this comprehensive guide, you can confidently tackle the installation process, from planning and preparation to the final connection. Remember to prioritize safety, adhere to local electrical codes, and consult a professional if you encounter any uncertainties during the installation.
Flexible LED strip lights offer endless possibilities for creative lighting solutions. Whether you're illuminating a kitchen countertop, creating a cozy atmosphere in a living room, or adding accent lighting to a commercial space, these versatile lighting options can transform your environment with their efficiency and customizable nature.
For more information on flexible LED strip lights and other innovative lighting solutions, don't hesitate to reach out to the experts at USKYLED. Our team is dedicated to providing top-quality LED lighting products and personalized advice to help you achieve your lighting goals. Contact us at sales@uskyled.com to explore how we can illuminate your space with the latest in LED technology.
References
1. Johnson, L. (2021). The Complete Guide to LED Strip Lighting. Lighting Research Center.
2. Smith, A. & Brown, J. (2020). LED Strip Light Installation: Tips and Tricks. Electrical Contractor Magazine.
3. Davis, R. (2019). Flexible LED Lighting: Applications and Installation Techniques. Journal of Light and Visual Environment.
4. Williams, E. (2022). DIY LED Strip Lighting: From Basics to Advanced Projects. Make: Magazine.
5. Anderson, K. (2021). Energy-Efficient Lighting Solutions: The Rise of Flexible LED Strips. Energy Efficiency in Buildings Journal.

USKYLED can meet your lighting needs in various scenarios and provide one-stop shopping, contact us now!

Why You Should Choose USKYLED?
![What is Dimmable Track Lighting for Museum: Best Guide [2025]](/icms/upload/0d08cc601e7611f0b542b3ca0c0f4a83/pic/knowledgemanager-knowledgepic/e7879f32605f11f081911f363b8c1ed0/Directory/20250717 dimmable track lighting -1(1)_1752739217941.webp)

