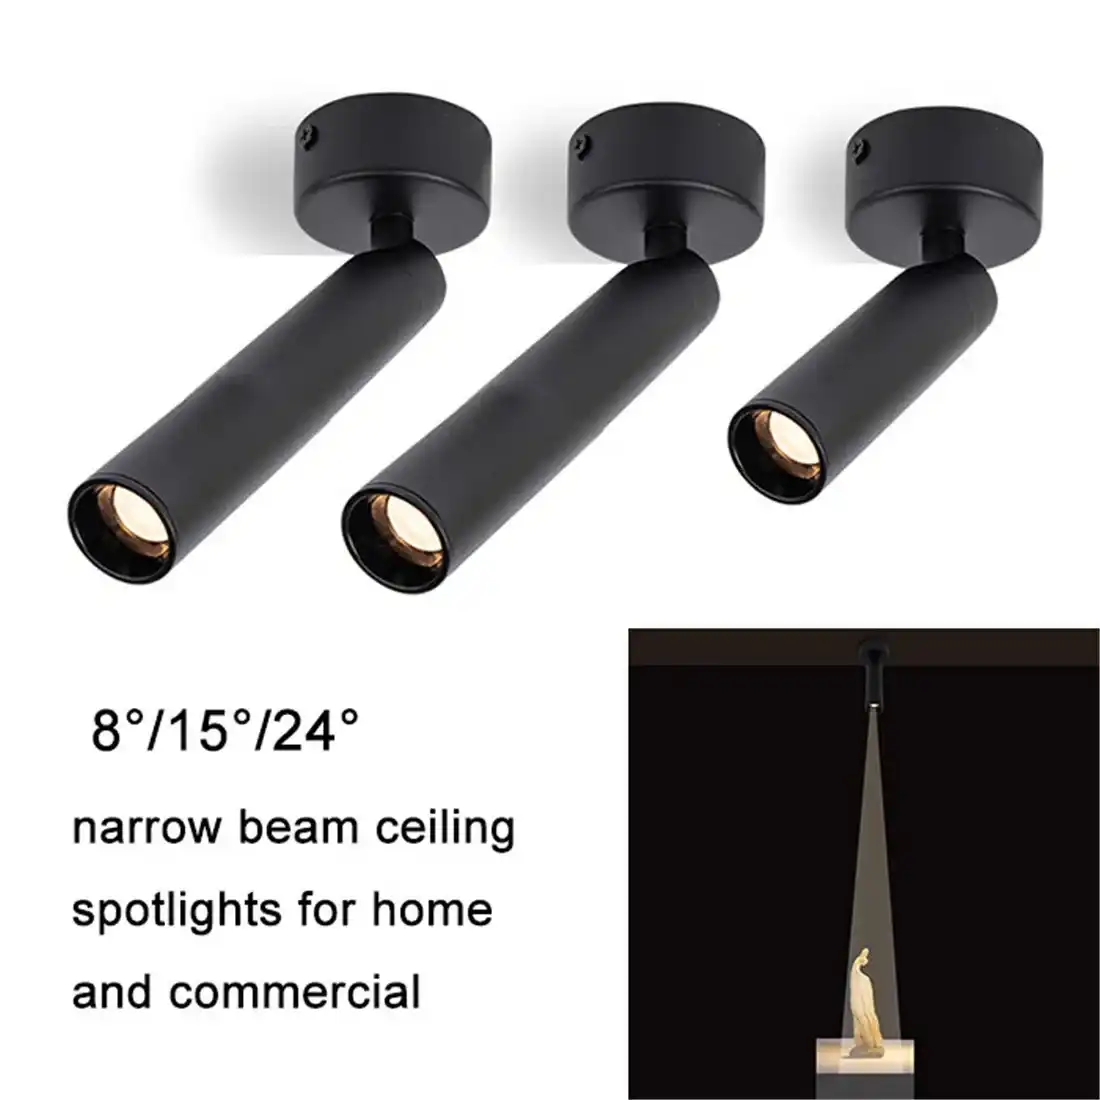
How to Fit Ceiling Downlights in a Plaster Ceiling Like a Pro?
Fitting ceiling downlights in a plaster ceiling like a pro requires careful planning, precise execution, and attention to detail. Start by marking the desired positions for your downlights, ensuring even spacing and alignment. Use a hole saw to cut neat openings in the ceiling, being mindful of any electrical wires or joists. Install proper electrical wiring, connecting it to a junction box. Insert the downlight housing into the hole, securing it with the built-in clips or springs. Finally, connect the wiring to the downlight, install the trim, and insert the LED bulb. Remember to follow local electrical codes and safety guidelines throughout the process for a professional and safe installation.
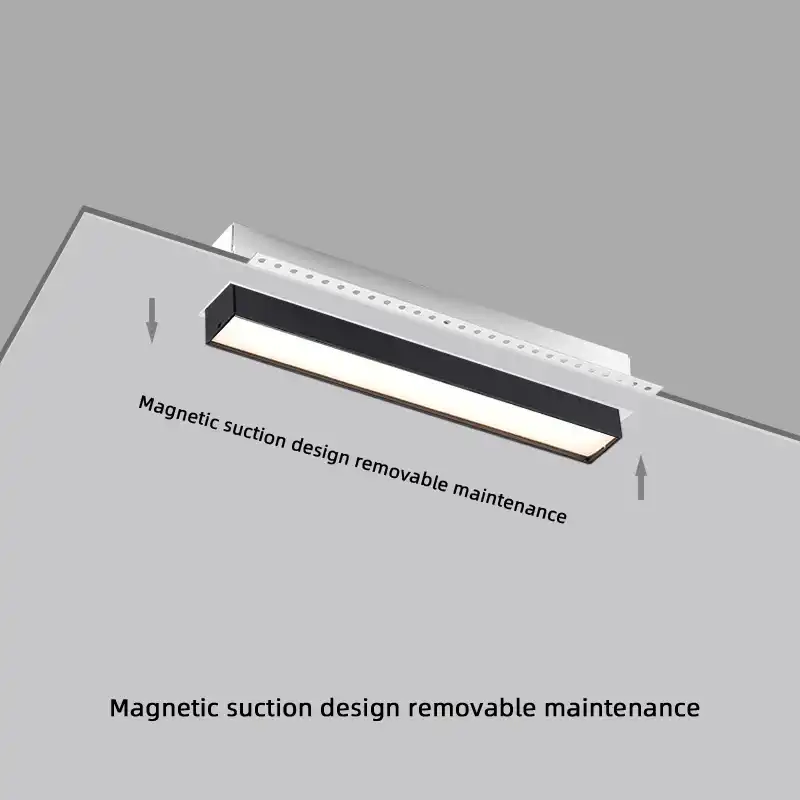
Essential Tools and Materials for Installing Ceiling Downlights
Before embarking on your ceiling downlight installation journey, it's crucial to gather all the necessary tools and materials. This preparation will ensure a smooth and efficient process, allowing you to tackle the task like a seasoned professional. Let's delve into the essential items you'll need:
Tools for Precision and Safety
To achieve a flawless installation, you'll need a combination of measuring and cutting tools. A tape measure and pencil are indispensable for marking the exact locations of your downlights. A stud finder helps you avoid electrical wires and joists hidden within the ceiling. For cutting the holes, a hole saw attachment for your drill is ideal, providing clean and precise openings.
Safety should always be a top priority when working with electricity. Ensure you have a voltage tester to check for live wires, and don't forget your safety glasses and dust mask to protect yourself during the cutting process. A sturdy ladder or platform will provide safe access to the ceiling.
Electrical Components and Fixtures
The heart of your installation lies in the electrical components. You'll need the downlights themselves, along with their corresponding mounting brackets or housings. Electrical cable (typically 14/2 romex) is essential for wiring, as well as wire nuts for secure connections. If you're installing multiple lights, a junction box might be necessary to manage the wiring safely.
Don't overlook the importance of a dimmer switch if you want to create versatile lighting scenarios. Ensure it's compatible with your chosen ceiling downlights for optimal performance.
Step-by-Step Guide to Installing Ceiling Downlights in Plaster
Now that you're equipped with the right tools and materials, let's walk through the installation process. Following these steps meticulously will help you achieve a professional-looking result that enhances your space with beautifully integrated lighting.
Planning and Preparation
Begin by carefully planning the layout of your downlights. Consider the room's function, furniture placement, and existing light sources. Use a pencil to mark the positions on the ceiling, ensuring even spacing and alignment. This is where your measuring skills come into play – take your time to get it right.
Before cutting any holes, use your stud finder to locate joists and electrical wires. It's crucial to avoid these to prevent structural damage and electrical hazards. If you encounter any obstacles, adjust your layout accordingly.
Cutting and Wiring
With your positions marked and verified, it's time to cut the holes. Attach the hole saw to your drill, matching the size to your downlight housings. Cut carefully, applying steady pressure to achieve clean, circular openings.
Next, focus on the wiring. If you're not confident in your electrical skills, this is the point where you should consider calling in a professional electrician. Safety is paramount when dealing with electricity. Run the electrical cable from your power source to each downlight position, ensuring there's enough slack for easy connections.
Installing the Downlights
Now for the exciting part – installing the actual downlights. Insert the housing or mounting bracket into each hole, securing it according to the manufacturer's instructions. This usually involves spring clips or adjustable bars that grip the ceiling material.
Connect the wiring to each downlight, following the color-coding (typically black to black, white to white, and green to ground). Use wire nuts to secure these connections, ensuring they're tight and well-insulated. Finally, insert the trim and the LED bulb into each housing. Take a moment to appreciate your handiwork before testing the lights.
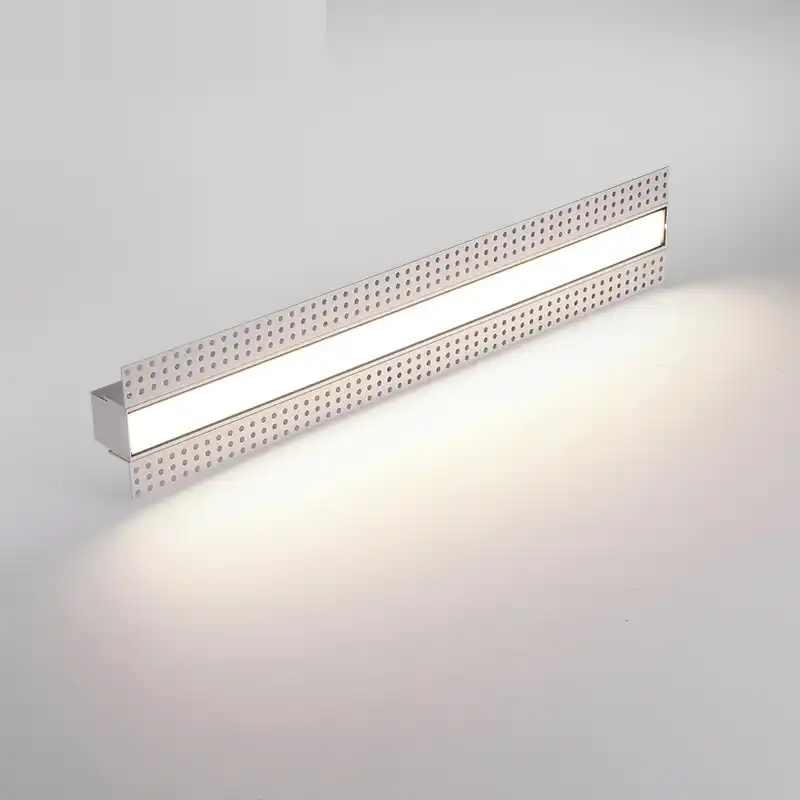
Maximizing the Impact of Your Ceiling Downlights
With your ceiling downlights successfully installed, it's time to consider how to make the most of your new lighting setup. Proper use and maintenance of your ceiling downlights can significantly enhance your space's ambiance and functionality.
Choosing the Right Bulbs and Color Temperature
The type of bulb you choose can dramatically affect the atmosphere of your room. LED bulbs are highly recommended for their energy efficiency and long lifespan. When selecting LEDs, pay attention to the color temperature, measured in Kelvins (K).
Warm white (2700K-3000K) creates a cozy, inviting atmosphere, ideal for living rooms and bedrooms. Natural white (4000K-4200K) provides a balanced, neutral light perfect for kitchens and home offices. Cool white (6000K-6500K) offers a crisp, invigorating light suitable for task-oriented spaces like bathrooms or garages.
Creative Lighting Techniques
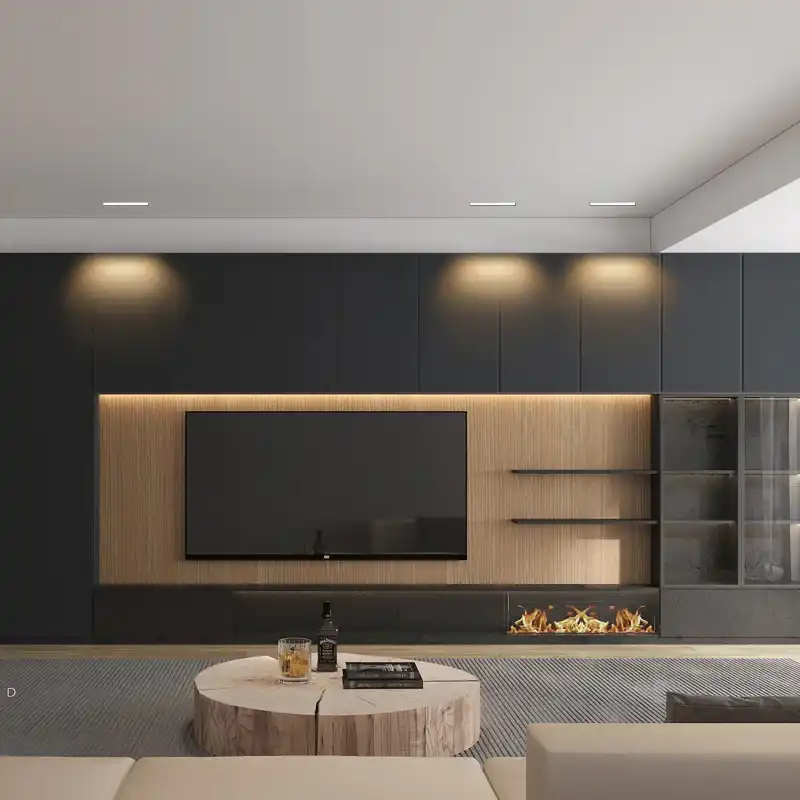
Experiment with different lighting techniques to enhance your space. Use accent lighting to highlight artwork or architectural features. Consider installing your ceiling downlights in groups to create pools of light, adding depth and dimension to your room.
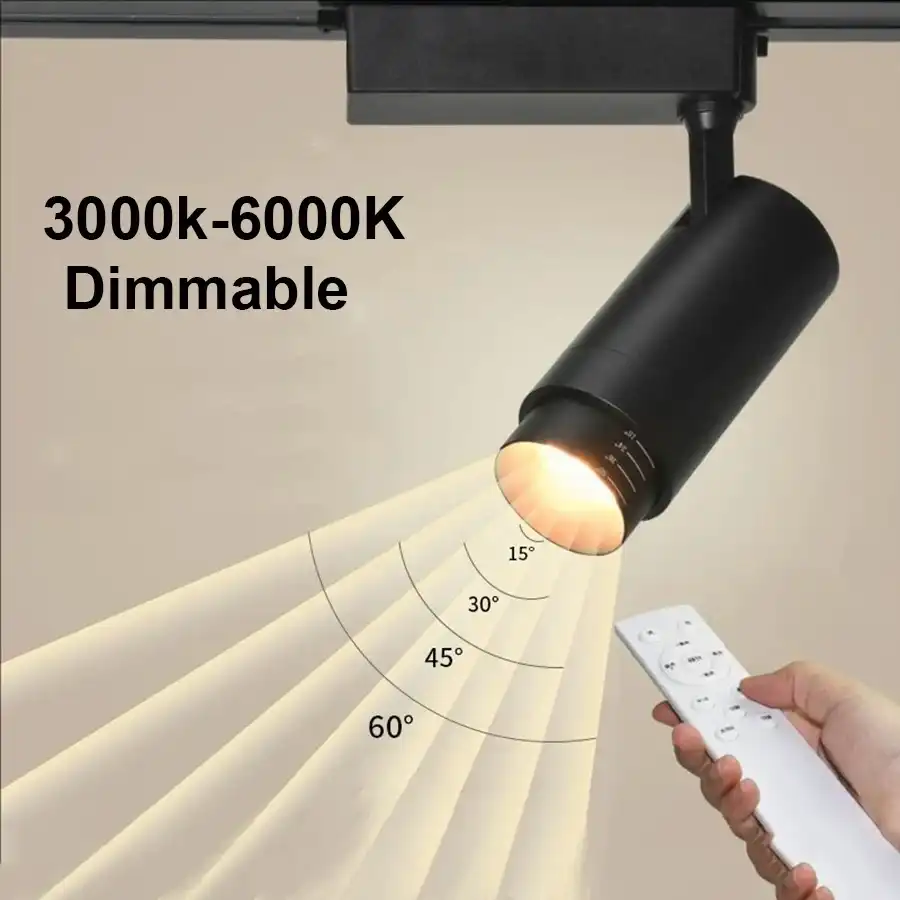
Dimmable downlights offer versatility, allowing you to adjust the ambiance to suit different times of day or activities. Pair your downlights with other lighting sources, such as table lamps or wall sconces, to create layered lighting that adds visual interest and functionality to your space.
Maintenance and Energy Efficiency
To keep your downlights performing at their best, regular maintenance is key. Dust the fixtures and bulbs periodically to maintain optimal light output. If you notice any flickering or inconsistent performance, check the connections and replace bulbs as needed.
Maximize energy efficiency by using LED bulbs and considering smart home integration. Smart downlights can be controlled via smartphone apps or voice commands, allowing you to easily manage your lighting and reduce energy consumption.
Conclusion
In conclusion, fitting ceiling downlights in a plaster ceiling like a pro requires careful planning, the right tools, and attention to detail. By following this guide, you can achieve a professional-looking installation that enhances your space with beautiful, functional lighting. Remember, if you're ever in doubt about the electrical aspects of the installation, it's always best to consult a qualified electrician. For more information about high-quality LED lighting solutions, don't hesitate to reach out to us at sales@uskyled.com.
References
1. Smith, J. (2022). The Complete Guide to Residential Lighting Installation. Electrical Contractor's Handbook, 5th Edition.
2. Johnson, A. (2021). Modern Lighting Design: Techniques and Technologies. Architectural Lighting Press.
3. Brown, R. (2023). Energy-Efficient Home Improvements: LED Lighting Solutions. Green Home Publishing.
4. Davis, M. (2022). DIY Home Electrical: Safety First Approaches. Homeowner's Manual Series.
5. Wilson, E. (2023). The Art of Light: Creating Ambiance with Downlights. Interior Design Today Magazine.

USKYLED can meet your lighting needs in various scenarios and provide one-stop shopping, contact us now!

Why You Should Choose USKYLED?
![What is Dimmable Track Lighting for Museum: Best Guide [2025]](/icms/upload/0d08cc601e7611f0b542b3ca0c0f4a83/pic/knowledgemanager-knowledgepic/e7879f32605f11f081911f363b8c1ed0/Directory/20250717 dimmable track lighting -1(1)_1752739217941.webp)
