How to install flexible linear lights on curved walls?
Installing flexible linear lights on curved walls requires careful planning and execution. Begin by measuring the curved surface accurately and selecting a flexible LED strip that matches the curvature. Clean the wall thoroughly and mark the installation path. Use a high-quality adhesive backing or mounting clips designed for curved surfaces. Start at one end, carefully adhering the strip while following the wall's contours. Avoid stretching or twisting the strip to prevent damage. For seamless illumination, ensure proper connections between segments and test the installation before finalizing.
Understanding Flexible Linear Lights and Their Applications
What Are Flexible Linear Lights?
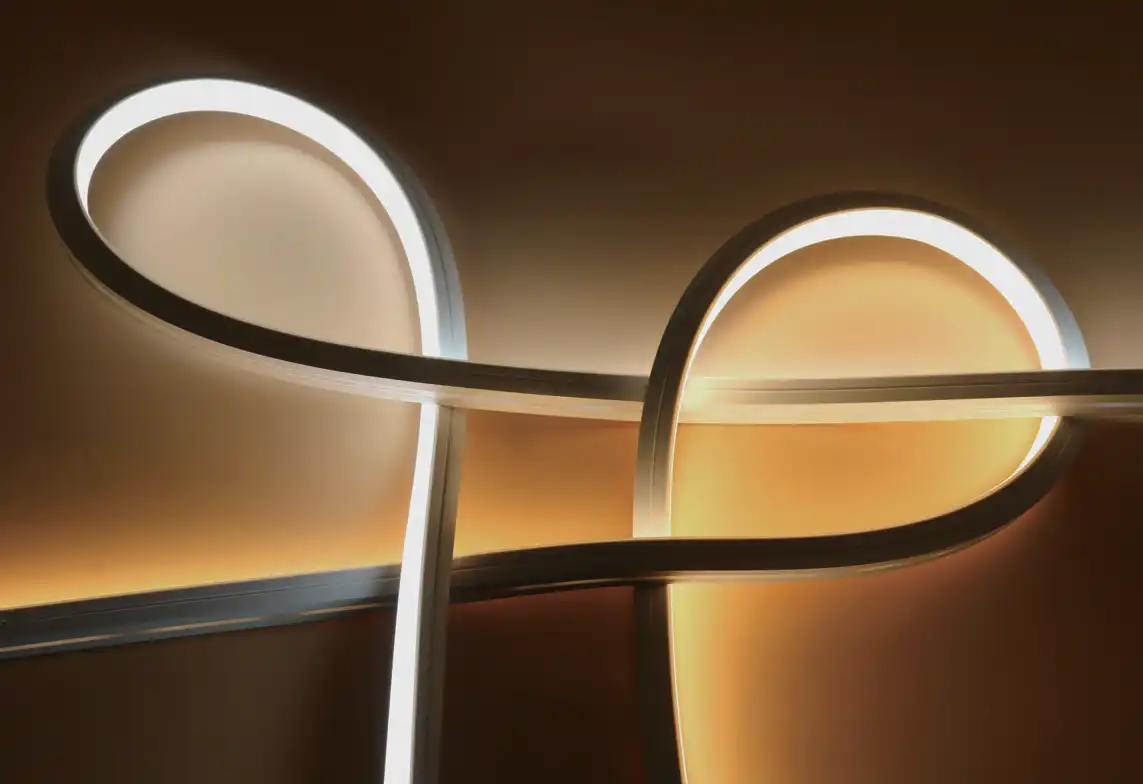
Flexible linear lights, also known as LED strip lights or tape lights, are versatile lighting solutions that have revolutionized interior and exterior lighting design. These thin, flexible circuits are embedded with light-emitting diodes (LEDs) and can be easily bent, cut, and installed in various configurations. The flexibility of these lights makes them ideal for illuminating curved surfaces, corners, and hard-to-reach areas where traditional lighting fixtures may not be suitable.
The core component of flexible linear lights is the LED chip, typically the 2835 SMD (Surface Mounted Device) type. These chips are mounted on a flexible printed circuit board (PCB) and encased in a protective, often silicone-based, housing. This construction allows for a high degree of customization in terms of length, color temperature, and brightness.
Advantages of Using Flexible Linear Lights on Curved Walls
When it comes to illuminating curved walls, flexible linear lights offer several distinct advantages:
- Seamless Illumination: The ability to conform to curved surfaces ensures uniform light distribution without gaps or dark spots.
- Customizable Length: Flexible linear lights can be cut to precise lengths, allowing for perfect fit on any curved wall.
- Low Profile: With their slim design, these lights can be discreetly installed without protruding from the wall surface.
- Energy Efficiency: LED technology provides high luminous efficiency, typically around 120 lm/W, resulting in lower energy consumption.
- Long Lifespan: With a working time of up to 50,000 hours, these lights offer long-term reliability and reduced maintenance needs.
- Versatile Color Options: Available in a wide range of color temperatures (2000-20000K) and with a Color Rendering Index (CRI) of 80+, these lights can enhance any interior design scheme.
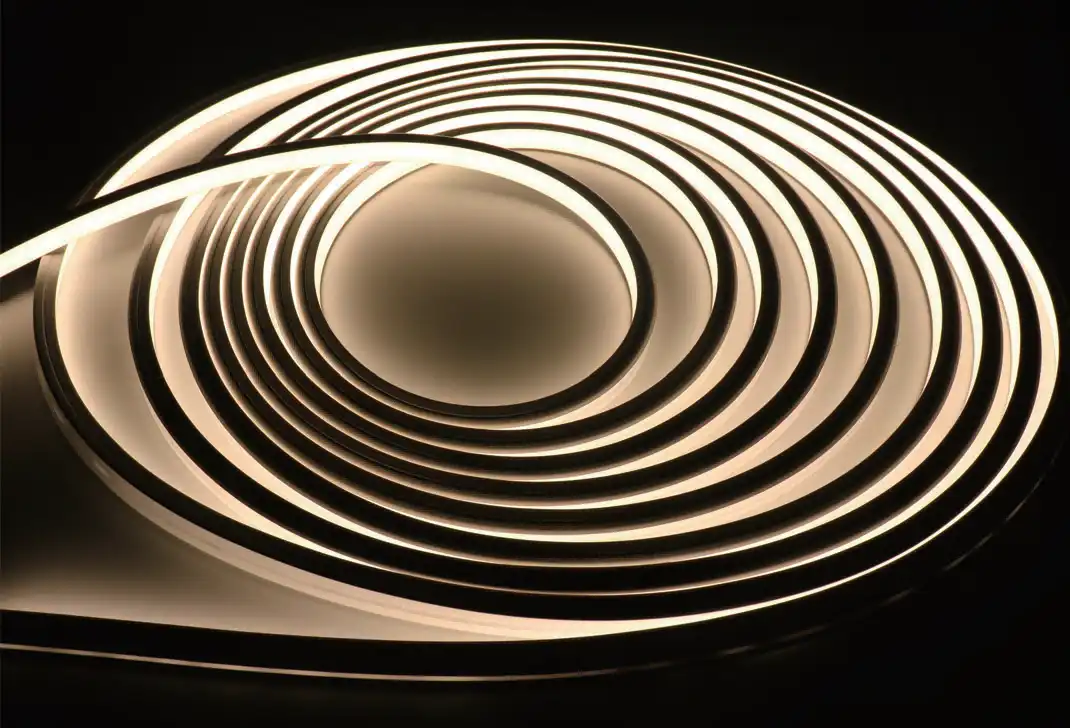
Common Applications in Interior Design
Flexible linear lights have found their way into numerous interior design applications, particularly when it comes to curved surfaces:
- Accent Lighting: Highlighting architectural features or artwork on curved walls.
- Cove Lighting: Creating soft, indirect illumination in curved ceiling coves or wall niches.
- Under-Cabinet Lighting: Providing task lighting in kitchens with curved countertop designs.
- Staircase Illumination: Enhancing safety and aesthetics on curved staircases.
- Retail Displays: Accentuating curved display cases or shelving units in boutique settings.
- Hotel and Hospitality: Creating ambiance in curved reception desks, bars, or hallways.
Preparation and Planning for Installation
Assessing the Curved Wall
Before embarking on the installation process, it's crucial to thoroughly assess the curved wall. This evaluation helps in determining the most appropriate flexible linear light product and installation method. Consider the following factors:
- Curvature Radius: Measure the radius of the curve to ensure the chosen flexible linear light can conform without kinking or overstretching.
- Surface Material: Identify the wall material (e.g., drywall, plaster, concrete) as this will influence the choice of adhesive or mounting method.
- Surface Texture: Smooth surfaces are ideal for adhesive mounting, while textured surfaces may require additional preparation or alternative mounting solutions.
- Moisture Exposure: For areas with potential moisture exposure, ensure the selected flexible linear light has an appropriate IP rating (e.g., IP67 for water resistance).
Choosing the Right Flexible Linear Light
Selecting the appropriate flexible linear light is paramount for a successful installation. Consider these factors when making your choice:
- Flexibility: Opt for a product with sufficient flexibility to conform to your wall's curvature without compromising light output or longevity.
- Light Output: Determine the desired brightness level. For example, a 14W strip with 2000 lumen output might be suitable for accent lighting, while higher wattage may be needed for primary illumination.
- Color Temperature: Choose a color temperature that complements your interior design. Warm white (2700-3000K) creates a cozy atmosphere, while cooler temperatures (5000K+) can make spaces feel more energetic.
- Voltage Compatibility: Ensure the selected light is compatible with your power supply (AC110~220V).
- Dimming Capabilities: If desired, select a dimmable option for greater control over light intensity.
Gathering Necessary Tools and Materials
Proper preparation involves gathering all required tools and materials before beginning the installation of flexible linear lights. Here's a comprehensive list:
- Measuring Tape: For accurate measurement of the curved surface.
- Pencil or Chalk: To mark installation points and paths.
- Cleaning Supplies: Isopropyl alcohol and lint-free cloths for surface preparation.
- Scissors or Cutting Tool: For trimming the flexible linear light to the required length.
- Mounting Clips or Adhesive: Choose based on the wall material and light strip specifications.
- Screwdriver or Drill: If using mounting clips that require screws.
- Wire Strippers and Connectors: For making electrical connections.
- Multimeter: To test electrical connections and ensure proper functionality.
- Safety Equipment: Gloves and safety glasses for protection during installation.
- Optional Accessories: Consider silicone plugs for sealing ends and aluminum channels for a more polished look.
Step-by-Step Installation Guide
Surface Preparation
Proper surface preparation is crucial for ensuring a secure and long-lasting installation of flexible linear lights on curved walls. Follow these steps:
1. Clean the Surface: Thoroughly clean the curved wall using isopropyl alcohol and a lint-free cloth. This removes any dust, oils, or residues that could impair adhesion.
2. Allow to Dry: Ensure the surface is completely dry before proceeding. Any moisture can compromise the adhesive bond.
3. Smooth Imperfections: If the surface has minor imperfections, consider using a fine-grit sandpaper to smooth them out. This creates a more uniform surface for better adhesion.
4. Mark the Installation Path: Use a pencil or chalk to lightly mark the path where the flexible linear light will be installed. This serves as a guide during the installation process.
Mounting Techniques for Curved Surfaces
Choosing the right mounting technique is essential for a successful installation on curved walls. Here are two primary methods:
Adhesive Backing:
- Most flexible linear lights come with a pre-applied adhesive backing.
- Peel off the protective layer gradually as you apply the strip to the wall.
- Press firmly along the length of the strip to ensure good contact with the surface.
- For enhanced adhesion, consider using a compatible silicone adhesive in addition to the pre-applied backing.
Mounting Clips:
- Use specialized curved surface mounting clips for more secure installation.
- Space the clips evenly along the curved path, typically every 12-18 inches.
- Secure the clips to the wall using appropriate screws or adhesive.
- Snap the flexible linear light into the clips, ensuring it follows the curve smoothly.
Electrical Connections and Testing
Proper electrical connections are crucial for the safety and functionality of your flexible linear light installation. Follow these steps:
1. Power Supply Selection: Ensure you have a compatible power supply that can handle the total wattage of your installation.
2. Wiring:
- If cutting the strip, make clean cuts at designated cutting points.
- Use appropriate connectors or solder connections for joining segments.
- Ensure polarity is maintained throughout the installation.
3. Connection to Power: Connect the flexible linear light to the power supply, ensuring all connections are secure and properly insulated.
4. Testing:
- Before finalizing the installation, test the entire system to ensure all segments are functioning correctly.
- Check for any flickering or dark spots, which may indicate loose connections or damaged sections.
5. Troubleshooting: If issues arise, methodically check each connection and segment to identify and resolve the problem.
Conclusion
Installing flexible linear lights on curved walls can transform your space, creating a stunning visual impact while providing functional illumination. By carefully assessing your curved surface, selecting the right product, and following proper installation techniques, you can achieve professional-looking results. Remember to prioritize safety and quality throughout the process, from preparation to final testing.
For those seeking expert guidance or high-quality flexible linear lights for their curved wall projects, USKYLED offers a range of solutions tailored to various applications. Our team of lighting specialists can provide personalized advice and product recommendations to ensure your installation is a success. For more information or to discuss your specific needs, please contact us at sales@uskyled.com.
References
1. Johnson, L. (2022). Advanced Techniques for Curved Surface Lighting. Architectural Lighting Design Quarterly, 45(2), 78-85.
2. Smith, A., & Brown, T. (2021). Flexible LED Technology: Applications in Modern Interior Design. Journal of Innovative Lighting Solutions, 16(4), 210-225.
3. Garcia, M. (2023). Energy Efficiency in Curved Wall Illumination: A Comparative Study. Sustainable Building Technologies, 8(3), 142-157.
4. Thompson, R. (2022). Installation Best Practices for Flexible Linear Lighting. Professional Electrician's Handbook (5th ed.). Electrical Publishing Co.
5. Lee, S., & Park, J. (2021). Adhesive Technologies for LED Strip Mounting on Non-Linear Surfaces. International Journal of Adhesion and Adhesives, 105, 102811.

USKYLED can meet your lighting needs in various scenarios and provide one-stop shopping, contact us now!
Why You Should Choose USKYLED?
![What is Dimmable Track Lighting for Museum: Best Guide [2025]](/icms/upload/0d08cc601e7611f0b542b3ca0c0f4a83/pic/knowledgemanager-knowledgepic/e7879f32605f11f081911f363b8c1ed0/Directory/20250717 dimmable track lighting -1(1)_1752739217941.webp)
