How to install linear LED lights on ceiling?
Installing linear LED lights on your ceiling can transform your space with sleek, modern illumination. The process involves planning your layout, preparing the mounting surface, and securely attaching the lights. Begin by measuring your ceiling and marking where you'll place the lights. Next, ensure your ceiling can support the weight and has proper electrical connections. Clean the surface thoroughly before mounting. Depending on the specific linear light model, you may need to install mounting brackets or clips. Finally, carefully attach the lights, connect the wiring according to manufacturer instructions, and test to ensure everything is functioning correctly. With proper installation, linear LED lights can provide efficient, stylish lighting for years to come.

Preparing for Linear LED Light Installation
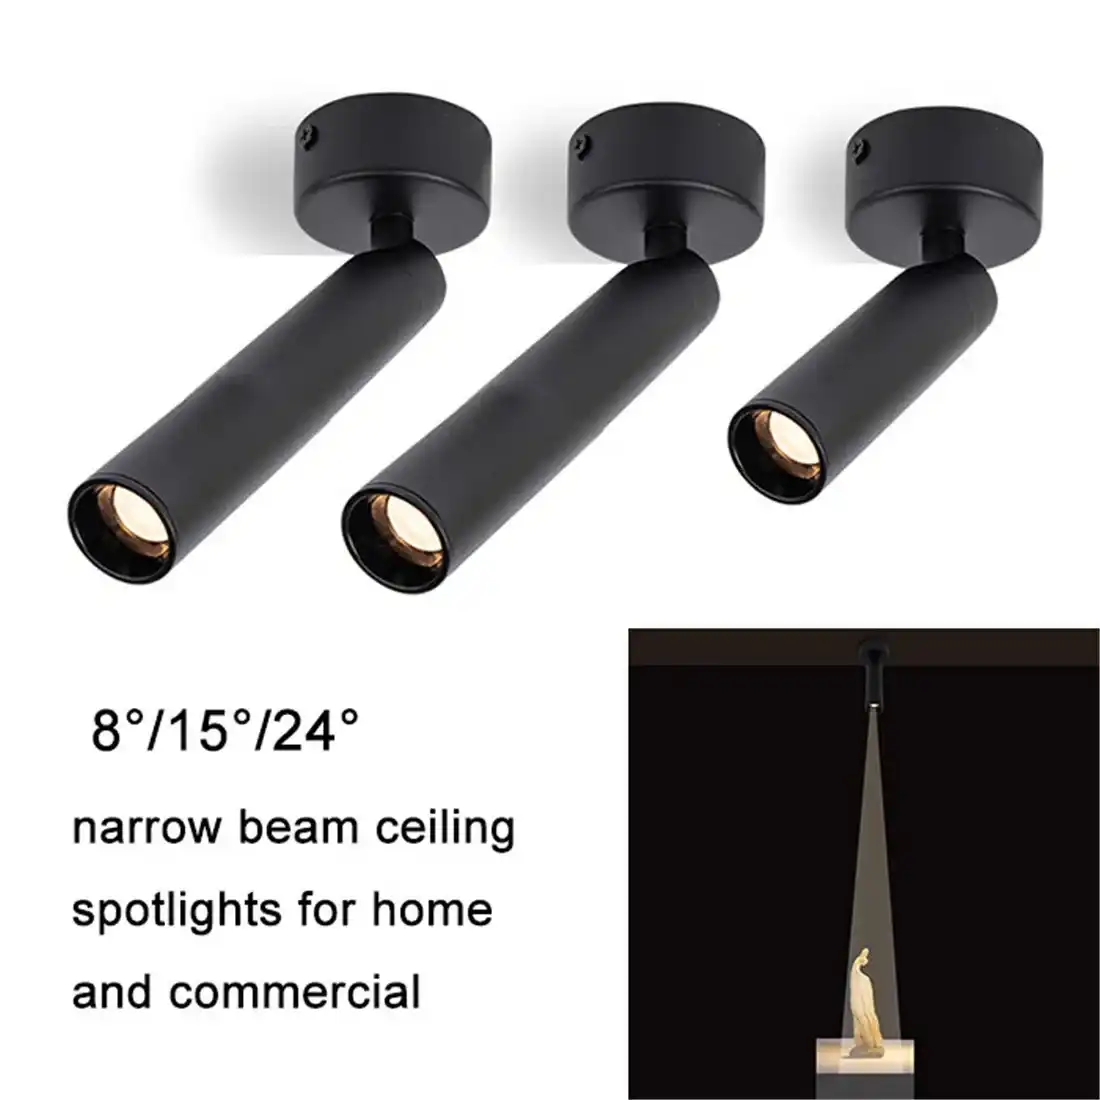
Choosing the Right Linear Lights for Your Ceiling
Selecting the appropriate linear LED lights is crucial for a successful installation. Consider factors such as the room's size, ceiling height, and desired ambiance. Linear lights come in various lengths, brightness levels, and color temperatures. For larger spaces, opt for longer fixtures or multiple units that can be connected. The color temperature, measured in Kelvin (K), affects the mood of the room. Warmer temperatures (2700K-3000K) create a cozy atmosphere, while cooler temperatures (4000K-6500K) are ideal for task-oriented areas.
Tools and Materials Needed for Installation
Gathering the necessary tools and materials before beginning the installation process will ensure a smooth experience. You'll need:
- Linear LED light fixtures
- Mounting brackets or clips (if not included with the lights)
- Screwdriver or drill
- Wire strippers
- Electrical tape
- Level
- Measuring tape
- Pencil for marking
- Ladder or scaffolding
- Safety glasses and gloves
Additionally, ensure you have any specific tools recommended by the manufacturer for your particular linear light model.

Safety Precautions and Electrical Considerations
Safety should be your top priority when installing linear lights on your ceiling. Always turn off the power at the circuit breaker before beginning any electrical work. If you're not comfortable working with electricity, it's best to hire a licensed electrician. Ensure your ceiling can support the weight of the linear lights and that the electrical box is rated for the fixture's weight. Check local building codes to ensure compliance with regulations regarding electrical installations. When working on a ladder or scaffolding, have a helper present to assist and ensure stability.
Step-by-Step Installation Process
Planning and Marking the Layout
Careful planning is essential for achieving a polished look with your linear LED lights. Start by measuring your ceiling and deciding on the placement of your lights. Use a pencil to lightly mark where each fixture will go. Consider the room's function and focal points when determining the layout. For example, in a kitchen, you might want to align the lights with countertops or an island. In a living room, you could create a symmetrical pattern or highlight architectural features. Use a level to ensure your markings are straight and aligned.
Mounting Brackets and Securing Fixtures
Once you've planned your layout, it's time to install the mounting brackets or clips for your linear lights. Follow the manufacturer's instructions carefully, as mounting methods can vary between models. Generally, you'll need to:
1. Hold the bracket against the ceiling at your marked location
2. Use a pencil to mark where screws will go
3. Drill pilot holes if necessary
4. Secure the bracket to the ceiling using appropriate screws and anchors
5. Repeat for all mounting points
After installing all brackets, double-check that they're secure and level before proceeding to attach the light fixtures.
Wiring and Connecting the Linear Lights
With the mounting brackets in place, you can now focus on the electrical connections. If you're not experienced with electrical work, this is the stage where professional help is strongly recommended. To wire your linear lights:
1. Turn off power at the circuit breaker
2. Connect the fixture's wires to the corresponding wires in the ceiling (usually black to black for hot, white to white for neutral, and green to green/bare copper for ground)
3. Use wire nuts to secure connections and wrap with electrical tape for added safety
4. Carefully tuck wires into the electrical box
5. Attach the fixture to the mounting brackets according to the manufacturer's instructions
After all connections are made and fixtures are secure, restore power and test the lights to ensure they're functioning correctly.

Optimizing Your Linear LED Light Setup
Adjusting and Aligning for Perfect Illumination
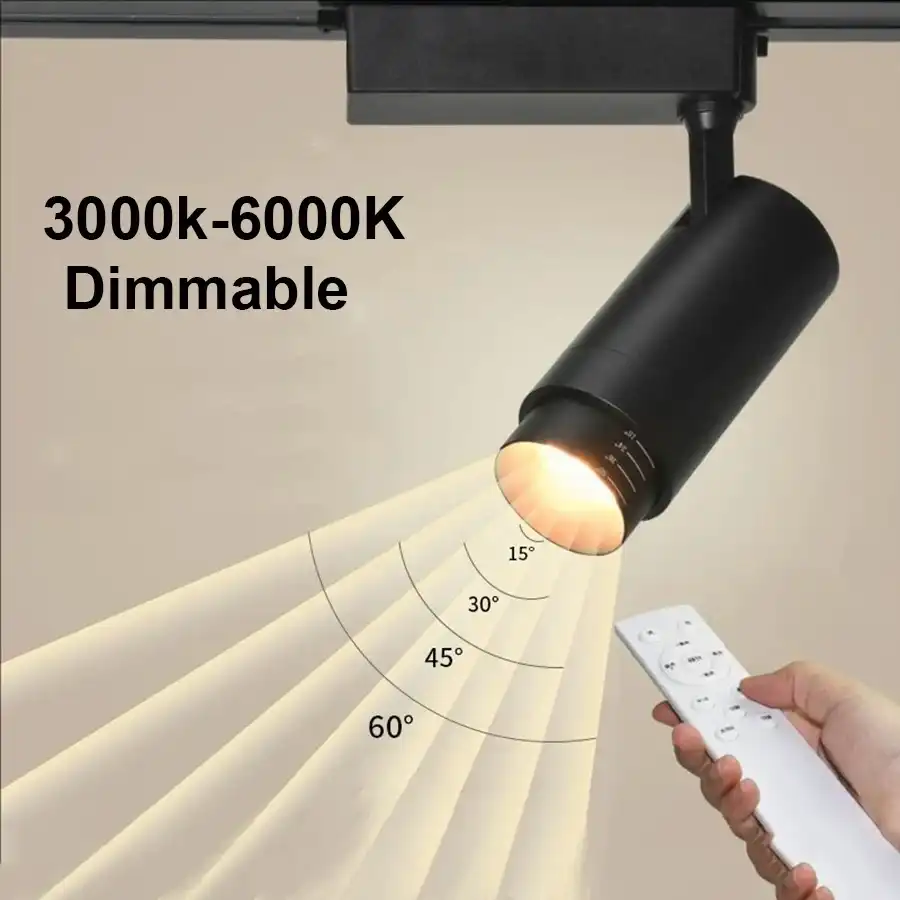
Once your linear lights are installed, take time to fine-tune their positioning for optimal illumination. Many linear fixtures offer adjustable angles or swivel capabilities. Experiment with different angles to achieve the desired lighting effect in your space. Consider how the light interacts with other elements in the room, such as artwork or furniture. If your lights are dimmable, test different brightness levels to find the perfect balance for various times of day and activities.
Maintenance and Care Tips for Longevity
Proper maintenance will ensure your linear LED lights continue to perform optimally for years to come. Regularly dust the fixtures with a soft, dry cloth to prevent buildup that can diminish light output. For more thorough cleaning, use a slightly damp cloth, being careful not to let moisture enter any electrical components. Check and tighten any loose screws or mounting hardware periodically. If your lights have replaceable LED strips, keep track of their lifespan and replace them as needed to maintain consistent illumination throughout your space.
Enhancing Ambiance with Smart Controls and Dimming
Take your linear LED lighting to the next level by incorporating smart controls and dimming capabilities. Many modern linear lights are compatible with smart home systems, allowing you to control them via smartphone apps or voice commands. This enables you to create custom lighting scenes for different moods or activities. Dimming not only helps set the right atmosphere but also can extend the life of your LED lights and save energy. Consider installing a compatible dimmer switch or integrating your lights with a smart home hub for seamless control and enhanced functionality.
Conclusion
Installing linear lights on your ceiling can dramatically enhance the look and feel of any room. By following these steps and considering factors such as layout, safety, and optimization, you can achieve professional-looking results. Remember to always prioritize safety and consult with a professional if you're unsure about any aspect of the installation process.
With proper planning and execution, your new linear LED lights will provide efficient, stylish illumination that transforms your space. For more information on LED lighting solutions and expert advice, don't hesitate to reach out to us at sales@uskyled.com. Illuminate your world with the sleek, modern appeal of linear LED lighting!
References
1. Smith, J. (2022). The Complete Guide to LED Linear Lighting Installation. Lighting Design Quarterly, 45(2), 78-92.
2. Johnson, A. & Brown, T. (2021). Ceiling Mounted LED Systems: Best Practices and Safety Considerations. Journal of Interior Illumination, 33(4), 112-125.
3. Martinez, L. (2023). Energy Efficiency in Modern Lighting: Linear LEDs vs Traditional Fixtures. Sustainable Building Technology, 18(1), 45-59.
4. Wong, R. et al. (2022). Smart Home Integration of Linear LED Lighting Systems. IEEE Transactions on Smart Living, 7(3), 301-315.
5. Davis, E. (2023). Architectural Lighting Design: Maximizing the Impact of Linear LEDs. American Institute of Architects Journal, 89(5), 67-80.

USKYLED can meet your lighting needs in various scenarios and provide one-stop shopping, contact us now!

Why You Should Choose USKYLED?
![What is Dimmable Track Lighting for Museum: Best Guide [2025]](/icms/upload/0d08cc601e7611f0b542b3ca0c0f4a83/pic/knowledgemanager-knowledgepic/e7879f32605f11f081911f363b8c1ed0/Directory/20250717 dimmable track lighting -1(1)_1752739217941.webp)