Preparing for Installation: Essential Tools and Materials
Choosing the Right Flexible LED Strip Lights
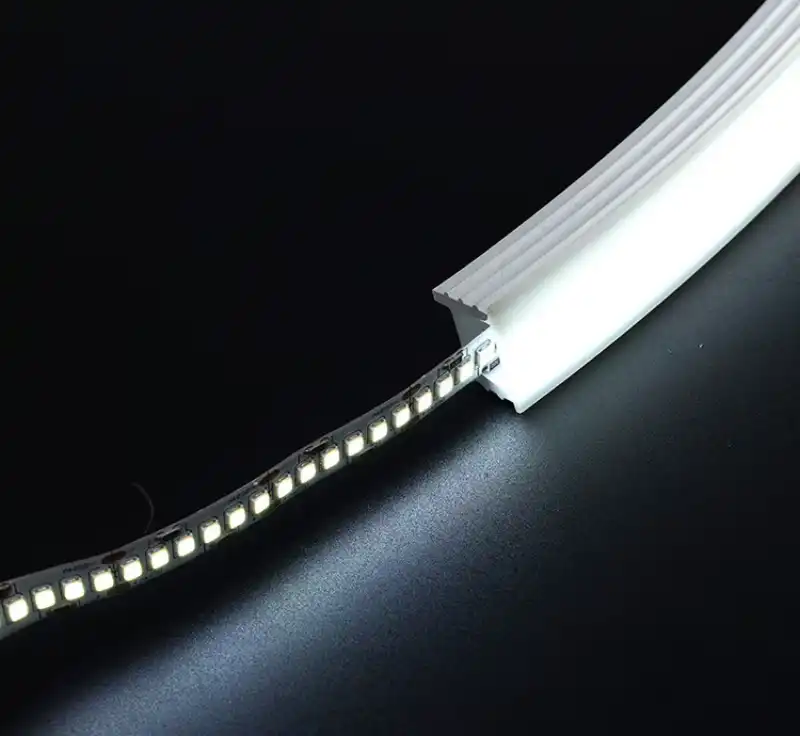
Before diving into the installation process, it's crucial to select the appropriate flexible LED strip lights for your project. Consider factors such as color temperature, brightness, and power requirements. LED strips come in various lengths and can be cut to size, making them adaptable to different spaces. For outdoor applications, ensure you choose waterproof options with an appropriate IP rating.
Gathering Necessary Tools and Accessories
To ensure a smooth installation, gather the following tools and materials:
- Measuring tape
- Scissors or utility knife
- Wire strippers
- Soldering iron and solder (for connecting cut sections)
- Electrical tape or heat shrink tubing
- LED controller (if using RGB or RGBW strips)
- Power supply
- Mounting clips or adhesive backing
- Screwdriver (if using mounting clips)
Having these items on hand will streamline the installation process and help you achieve professional results.
Planning Your Layout
Before starting the installation, plan your layout carefully. Measure the areas where you intend to install the flexible LED strip lights and sketch out your design. Consider factors such as power outlet locations, corners, and any obstacles that may affect the placement of the strips. This planning stage is crucial for determining the length of LED strips needed and identifying potential challenges in the installation process.

Installation Process: Step-by-Step Instructions
Surface Preparation
Proper surface preparation is critical to achieving a strong and lasting bond for your flexible LED strip lights. Begin by wiping the installation area thoroughly with isopropyl alcohol to eliminate dust, grease, and any other contaminants that may interfere with adhesion. Allow the surface to dry completely before proceeding, as moisture can weaken the adhesive. For textured, uneven, or porous surfaces, the adhesive backing alone may not suffice—mounting clips or additional adhesive solutions can provide extra holding strength, ensuring the strips remain firmly in place over time.
Cutting and Connecting LED Strips
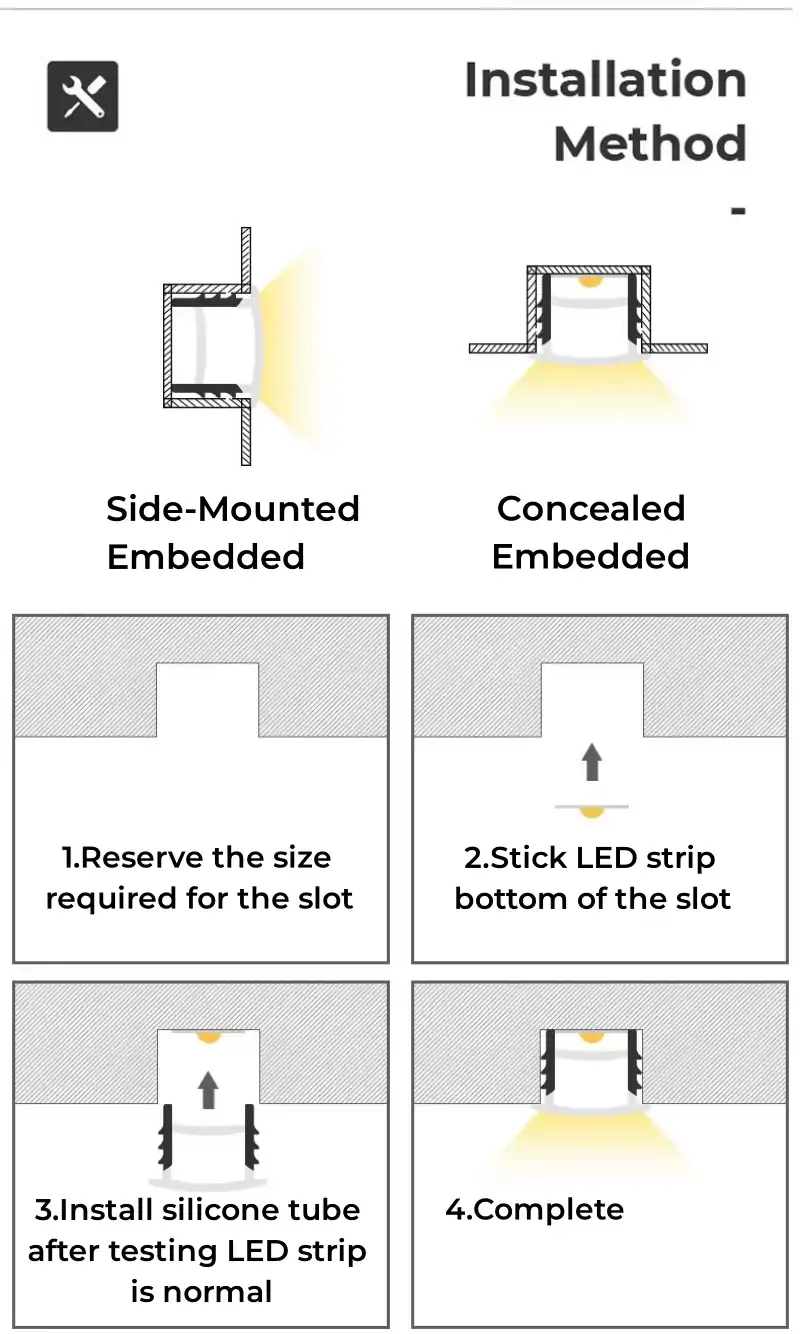
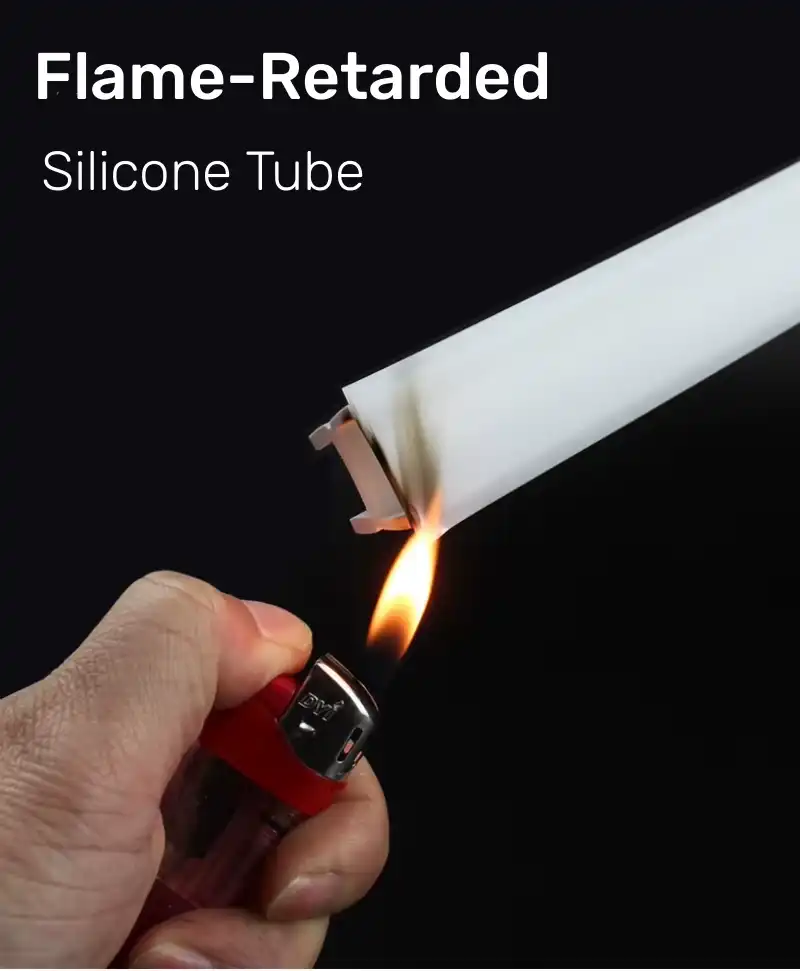
Most flexible LED strip lights are designed with marked cutting points—often indicated by small scissor symbols or copper contact pads—where they can be trimmed to the exact length needed. Use sharp scissors or a precision utility knife to achieve clean, straight cuts, avoiding damage to the circuitry. When joining separate segments, you may opt for solderless connectors for convenience or solder for a more permanent bond, ensuring correct polarity. In waterproof setups, always protect cut ends with silicone sealant or heat shrink tubing to maintain water resistance.
Mounting the LED Strips
For best results when mounting LED strips, begin installation from one end and slowly peel back the adhesive liner while pressing the strip into position with firm, even pressure. This helps prevent air bubbles and ensures consistent contact. For extended lengths, having an extra set of hands can keep the strip straight and aligned. Mounting clips provide extra reinforcement, especially for vertical or overhead installations. In tight bends, corners, or curved areas, use flexible corner connectors to maintain continuous light flow and preserve a neat, professional appearance.
Connecting to Power and Controllers
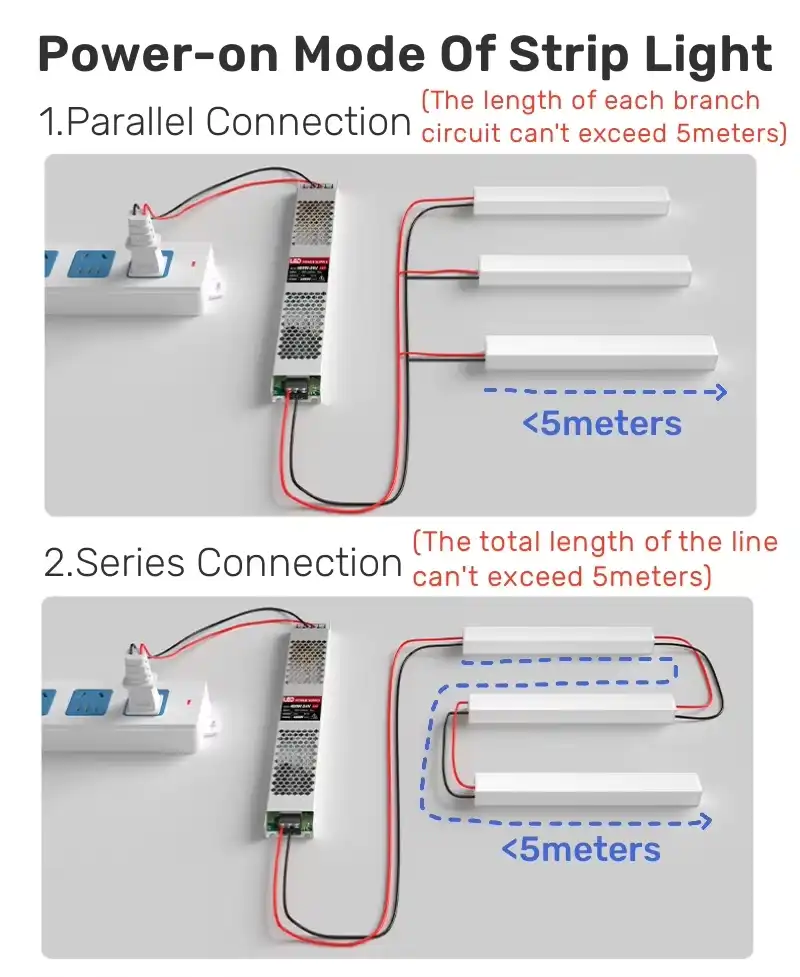
Once your LED strips are properly mounted, connect them to a suitable power supply and any required controllers. Secure and insulate all electrical connections to prevent short circuits or loose wiring. For RGB or RGBW strips, carefully follow the manufacturer’s instructions to pair the controller with your remote or mobile app, ensuring full control over brightness and color. Before completing the setup, test the lights to verify correct operation. Address any dim sections, flickering, or incorrect colors immediately to guarantee a smooth and reliable final installation.
Troubleshooting and Maintenance Tips
Common Installation Issues and Solutions
Even with careful planning, you may encounter some challenges during the installation of your flexible LED strip lights. Here are some common issues and their solutions:
- Uneven lighting: Check for loose connections or damaged sections of the strip.
- Flickering: Ensure the power supply is adequate for the length of LED strip installed.
- Color inconsistency: Verify that all connections are secure and that the controller is functioning properly.
- Adhesive failure: Clean the surface thoroughly and use additional mounting clips if needed.
If problems persist, consult the manufacturer's troubleshooting guide or seek professional assistance.
Maintaining Your LED Strip Lights
To keep your flexible LED strip lights functioning optimally, regular maintenance is key. Dust the strips periodically with a soft, dry cloth to prevent buildup that can affect light output. For outdoor installations, inspect the waterproof sealing regularly and reapply sealant if necessary. Check all connections periodically to ensure they remain secure and free from corrosion.
Upgrading and Expanding Your Lighting Setup
One of the advantages of flexible LED strip lights is their versatility and expandability. As your lighting needs change, you can easily add to or modify your existing setup. Consider incorporating smart home integration for voice control and automation, or explore color-changing options to create dynamic lighting scenes. When expanding your system, ensure that your power supply can handle the additional load to maintain optimal performance.
Conclusion
Installing flexible LED strip lights is a rewarding DIY project that can dramatically enhance the ambiance of any space. By following this comprehensive guide, you'll be well-equipped to tackle your lighting installation with confidence. Remember to prioritize safety, plan carefully, and take your time to achieve the best results. For more information on LED lighting products or expert advice on your specific project, don't hesitate to reach out to us at sales@uskyled.com. With the right approach and a bit of creativity, you'll be enjoying your custom LED lighting in no time.

![What is Dimmable Track Lighting for Museum: Best Guide [2025]](/icms/upload/0d08cc601e7611f0b542b3ca0c0f4a83/pic/knowledgemanager-knowledgepic/e7879f32605f11f081911f363b8c1ed0/Directory/20250717 dimmable track lighting -1(1)_1752739217941.webp)
