Step-by-Step Guide to Installing Recessed Down Lights
Installing recessed down lights can transform the ambiance of any room, providing a sleek and modern look while offering efficient illumination. This comprehensive guide will walk you through the process of installing down lights, from selecting the right fixtures to the final wiring and testing. Whether you're a DIY enthusiast or simply want to understand the process better before hiring a professional, this step-by-step guide will equip you with the knowledge to successfully illuminate your space with stylish recessed lighting.
Preparation and Planning for Down Light Installation
Choosing the Right Down Lights
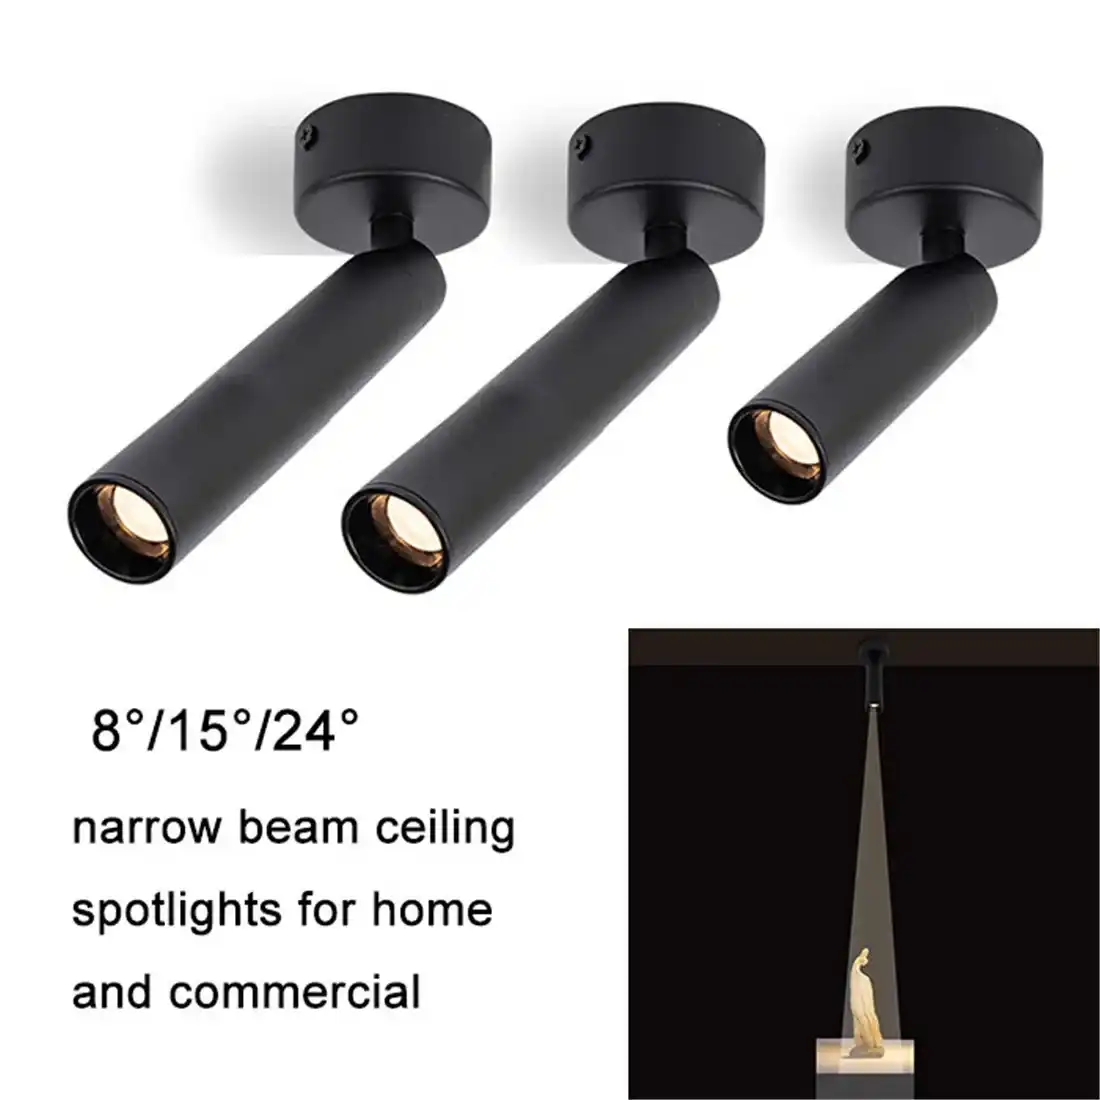
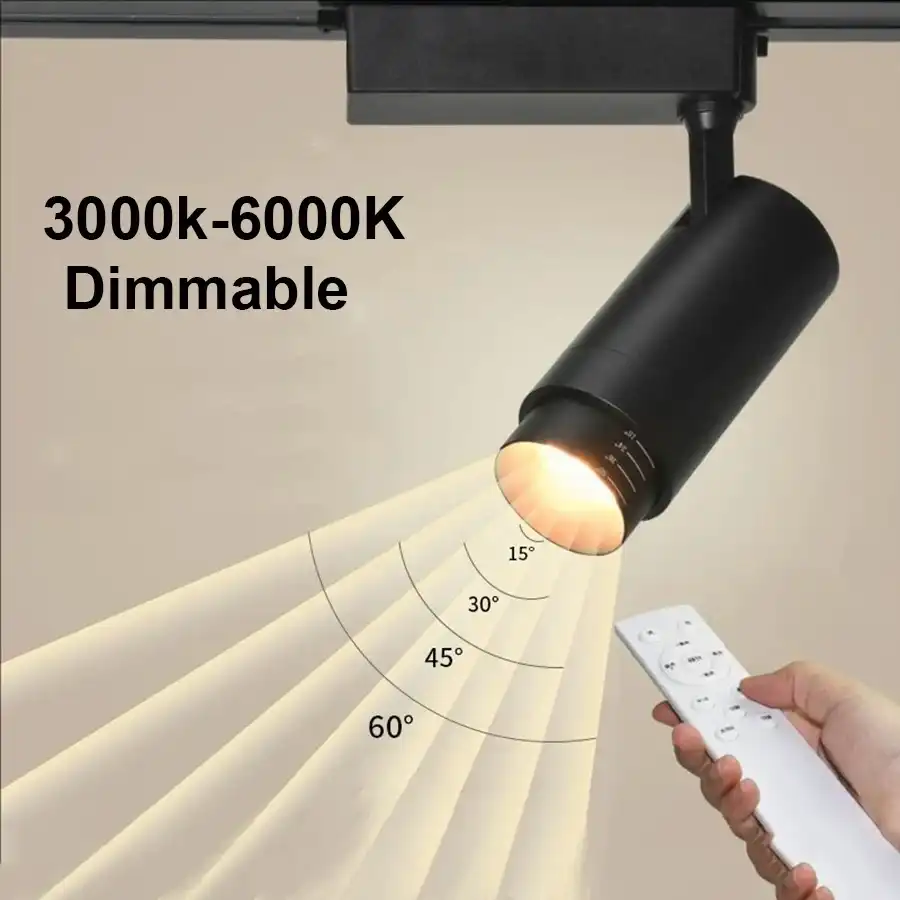
Selecting the appropriate down lights is crucial for achieving the desired lighting effect in your space. Consider factors such as the size of the room, ceiling height, and the purpose of the lighting. LED down lights are increasingly popular due to their energy efficiency and longevity. When choosing fixtures, pay attention to the beam angle, color temperature, and lumen output to ensure they meet your specific needs.
Tools and Materials Needed
Before embarking on your down light installation project, gather all necessary tools and materials. You'll need a drill, hole saw, wire strippers, screwdrivers, voltage tester, and a ladder. For materials, ensure you have the down lights themselves, electrical wire, wire nuts, and any required mounting brackets or housing units. Safety should be your top priority, so don't forget personal protective equipment like safety glasses and gloves.
Planning the Layout
A well-planned layout is essential for achieving optimal lighting distribution. Start by creating a lighting plan that takes into account the room's dimensions and intended use. Consider the placement of furniture and any architectural features that may affect light distribution. As a general rule, space recessed lights about 6 feet apart and 3 feet away from walls for even illumination. Use painter's tape to mark the proposed locations on the ceiling, allowing you to visualize the layout before making any permanent changes.
The Installation Process: Step-by-Step Guide
Safety First: Turning Off the Power
Before beginning any electrical work, it's imperative to turn off the power to the circuit you'll be working on. Locate your home's electrical panel and switch off the appropriate circuit breaker. Use a voltage tester to confirm that the power is indeed off in the area where you'll be installing the down lights. This step is crucial for ensuring your safety throughout the installation process.
Cutting the Holes
With your layout marked and power off, it's time to cut the holes for your down lights. Use a hole saw attached to your drill, ensuring the size matches the diameter of your chosen fixtures. Take care to avoid any joists or existing wiring in the ceiling. If you encounter any obstacles, adjust your layout accordingly. Remember to wear safety glasses to protect your eyes from falling debris as you cut.
Running the Wiring
Once the holes are cut, you'll need to run the electrical wiring. If you're connecting to an existing circuit, locate the nearest junction box. From there, run the appropriate gauge wire to each down light location. Be sure to leave enough slack at each hole to make connections easier. If you're creating a new circuit, you may need to install a new switch and run wiring from your electrical panel, which might require professional assistance.
Installing the Housing and Trim
With the wiring in place, it's time to install the housing units for your down lights. These typically attach to the ceiling joists with adjustable bars or clips. Ensure they're securely fastened and sit flush with the ceiling surface. Once the housing is in place, make the electrical connections according to the manufacturer's instructions, usually involving connecting black to black (hot), white to white (neutral), and green or bare copper to ground.
Connecting and Testing
After all connections are made and secured with wire nuts, carefully tuck the wires into the housing. Install the trim pieces, which often simply clip or spring into place. With everything installed, it's time for the moment of truth. Turn the power back on at the circuit breaker and test your new down lights. If they don't work, double-check your connections and ensure the bulbs are properly seated.
Finishing Touches and Maintenance
Adjusting and Aiming the Lights
Many recessed down lights offer adjustable trims that allow you to aim the light in specific directions. Take time to adjust each light for optimal illumination of your space. This might involve highlighting artwork, focusing light on work areas, or simply ensuring even coverage throughout the room. Experiment with different angles to achieve the desired effect.
Installing Dimmer Switches
To maximize the versatility of your new lighting setup, consider installing dimmer switches. This allows you to adjust the brightness to suit different moods or activities. Ensure that both your down lights and chosen dimmer switch are compatible for smooth operation and longevity. Installing a dimmer can significantly enhance the ambiance of your space and provide greater control over your lighting environment.
Ongoing Maintenance
While LED down lights are known for their longevity, they still require some maintenance to ensure optimal performance. Regularly dust the fixtures and check for any signs of wear or damage. If you notice any flickering or inconsistent performance, it may be time to check the connections or replace the unit. Additionally, keep an eye on the color consistency of your lights over time, as some LEDs may experience color shift as they age.
Energy Efficiency Considerations
One of the significant advantages of modern down lights, especially LED versions, is their energy efficiency. To maximize this benefit, consider using smart controls or timers to ensure lights are only on when needed. This not only reduces energy consumption but can also extend the life of your fixtures. Keep track of your energy usage before and after installation to appreciate the savings your new lighting system provides.
Conclusion
Installing recessed down lights can significantly enhance the aesthetic and functionality of your living spaces. By following this step-by-step guide, you can confidently approach the installation process, whether you choose to do it yourself or work with a professional. Remember that while DIY installation can be rewarding, complex electrical work should always be handled by a licensed electrician to ensure safety and compliance with local building codes.
For those looking to explore high-quality down light options or seeking expert advice on lighting solutions, USKYLED offers a wide range of LED lighting products and professional guidance. Our team is dedicated to helping you find the perfect lighting solution for your needs. For more information or assistance with your lighting project, please don't hesitate to contact us at sales@uskyled.com.
References
1. Smith, J. (2022). The Complete Guide to Recessed Lighting Installation. Electrical Contractor Magazine, 87(3), 45-52.
2. Johnson, A. & Brown, L. (2021). Energy-Efficient Lighting Solutions: A Focus on LED Down Lights. Journal of Sustainable Architecture and Building Science, 15(2), 112-128.
3. Williams, R. (2023). DIY Home Improvement: Installing Recessed Lighting. Popular Mechanics, 200(5), 78-85.
4. Green, S. & White, T. (2022). Illuminating Spaces: The Art and Science of Lighting Design. Architectural Lighting, 36(4), 29-37.
5. Taylor, M. (2023). Safety First: Electrical Work for Homeowners. Home Improvement Quarterly, 42(1), 60-68.

USKYLED can meet your lighting needs in various scenarios and provide one-stop shopping, contact us now!

Why You Should Choose USKYLED?
![What is Dimmable Track Lighting for Museum: Best Guide [2025]](/icms/upload/0d08cc601e7611f0b542b3ca0c0f4a83/pic/knowledgemanager-knowledgepic/e7879f32605f11f081911f363b8c1ed0/Directory/20250717 dimmable track lighting -1(1)_1752739217941.webp)