Easy Installation Guide for Bendable Linear LED Lighting
Bendable linear lighting has revolutionized the way we illuminate spaces, offering flexibility and creativity in design that was previously unattainable. This innovative lighting solution allows for seamless integration into various architectural features, from curved walls to intricate ceiling designs. In this comprehensive guide, we'll walk you through the process of installing bendable linear LED lighting, ensuring you can transform your space with ease and precision. Whether you're a DIY enthusiast or a professional installer, this step-by-step approach will help you achieve stunning lighting effects that elevate any interior or exterior environment.
Understanding Bendable Linear LED Lighting Systems
What Sets Bendable Linear Lighting Apart?
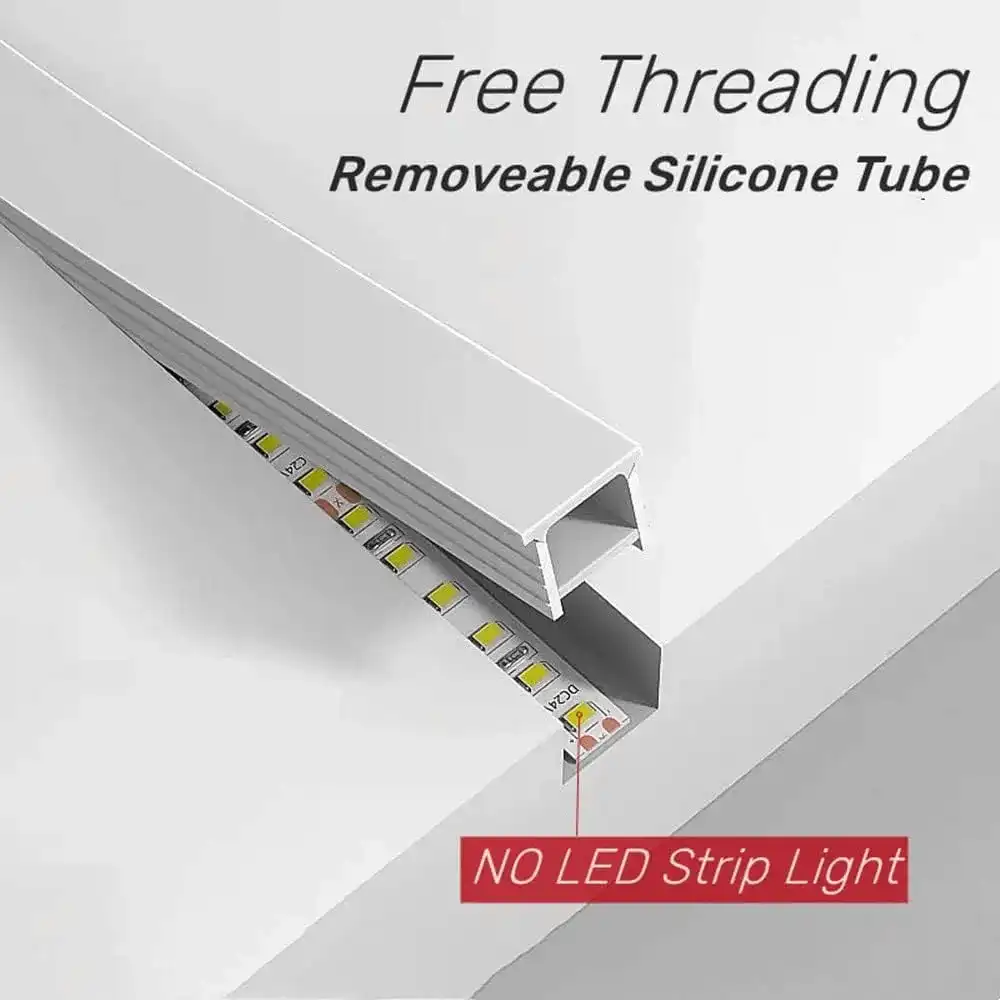
Bendable linear lighting is a game-changer in the world of illumination. Unlike traditional rigid LED strips, these flexible alternatives can conform to curved surfaces and irregular shapes, opening up a world of design possibilities. The key lies in their construction - a combination of flexible PCB (Printed Circuit Board) and a malleable housing that allows for bending without compromising the integrity of the LEDs or their electrical connections.
These lighting systems typically consist of high-quality LEDs mounted on a flexible strip, encased in a bendable profile that can be shaped to follow contours or create custom patterns. The ability to manipulate the light source itself, rather than working around it, gives designers and installers unprecedented control over lighting layouts.
Components of a Bendable Linear Lighting System
Before diving into the installation process, it's crucial to familiarize yourself with the components that make up a bendable linear lighting system:
- Flexible LED Strip: The core of the system, containing the LEDs and circuitry.
- Bendable Channel or Profile: A housing that protects the LED strip and allows for shaping.
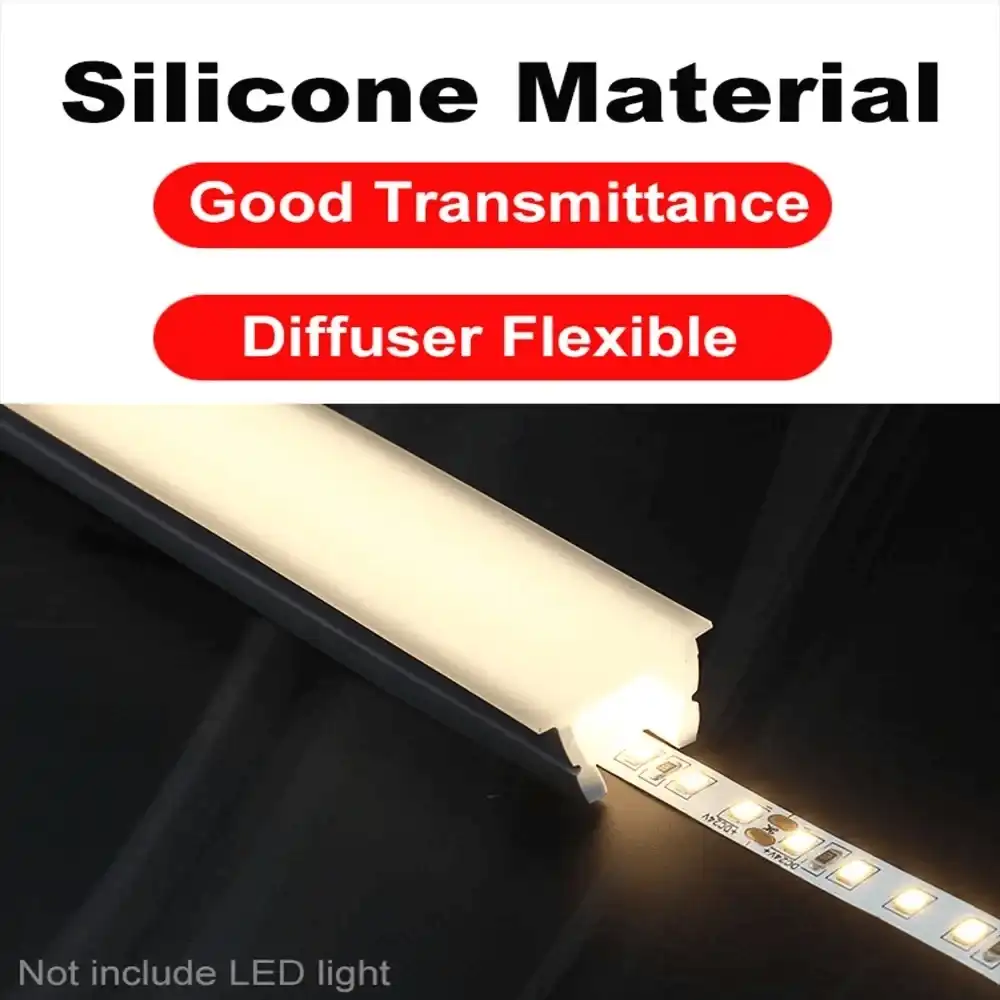
- Diffuser: An optional component that softens and evens out the light output.
- End Caps: Seal the ends of the channel, providing a finished look and protection.
- Mounting Clips or Adhesive: Used to secure the lighting system in place.
- Power Supply: Converts mains voltage to the low voltage required by the LEDs.
- Controller (Optional): Allows for dimming or color-changing capabilities in some systems.
Preparation: Essential Steps Before Installation
Planning Your Layout
The key to a flawless bendable linear lighting installation lies in meticulous planning. Begin by visualizing the desired effect and mapping out the exact path your lighting will follow. Consider the following factors:
- Surface Contours: Measure and sketch the curves or angles where the lighting will be installed.
- Power Source Location: Identify where you'll connect to power and plan the route for wiring.
- Segmentation: Determine if you need to cut the LED strip at designated points for corners or to fit specific lengths.
- Brightness Requirements: Calculate the lumens needed for the space to ensure adequate illumination.
Take precise measurements and create a detailed diagram. This will serve as your blueprint throughout the installation process, helping to avoid costly mistakes or mid-installation adjustments.
Gathering Tools and Materials
Before you begin, assemble all necessary tools and materials. Having everything at hand will streamline the installation process. Here's a comprehensive list of what you might need:
- Bendable LED strip and channel
- Power supply and dimmer (if applicable)
- Wire strippers and electrical tape
- Screwdriver set
- Drill and appropriate bits
- Level and measuring tape
- Marking pencil or chalk
- Scissors or utility knife (for cutting the LED strip if necessary)
- Cleaning supplies (isopropyl alcohol and lint-free cloths)
- Safety equipment (gloves and safety glasses)
Having these tools ready will ensure you can work efficiently without interruptions. Remember, the quality of your tools can significantly impact the ease of installation and the final result.
Surface Preparation
Proper surface preparation is crucial for a secure and long-lasting installation. Follow these steps to prepare your installation surface:
1. Clean the surface thoroughly with isopropyl alcohol to remove any dust, grease, or debris.
2. Allow the surface to dry completely.
3. If painting is required, do so before installation and allow ample time for the paint to cure.
4. For uneven surfaces, consider using a primer or filler to create a smooth mounting area.
5. Mark your installation path clearly using a level and pencil or chalk line.
Taking the time to properly prepare your surface will ensure better adhesion and a more professional-looking final result.
Step-by-Step Installation Process
Mounting the Channel
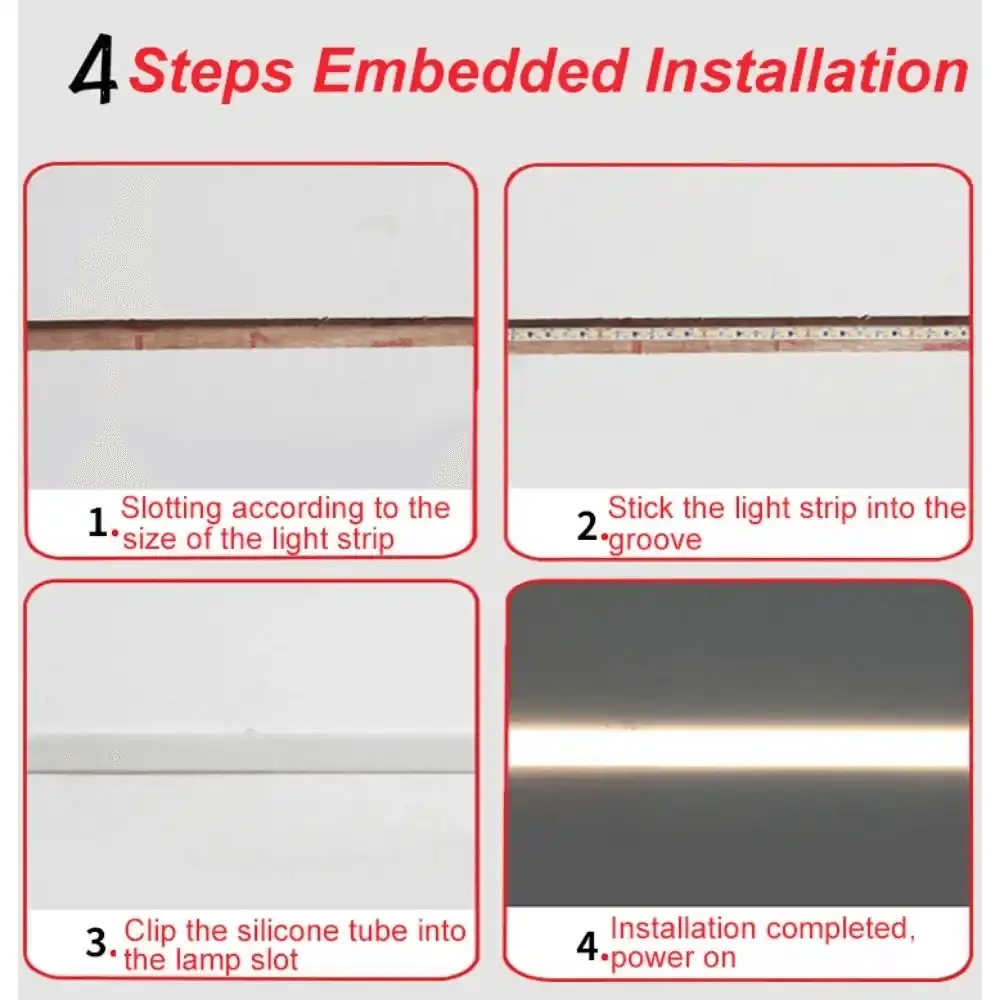
The first step in the physical installation is securing the bendable channel to your prepared surface. This process may vary slightly depending on the mounting method specified by the manufacturer, but generally follows these steps:
1. If using mounting clips, attach them along your marked path at intervals recommended by the manufacturer.
2. For adhesive mounting, carefully peel back the protective layer on the adhesive strip of the channel.
3. Starting at one end, gently press the channel onto the surface, following your marked line.
4. Work slowly, ensuring the channel adheres properly without trapping air bubbles.
5. For curved surfaces, apply gentle pressure to shape the channel as you go, taking care not to kink or damage it.
Installing the LED Strip
With the channel securely in place, it's time to install the LED strip:
1. If necessary, cut the LED strip to length at the designated cutting points.
2. Clean the inside of the channel to ensure good adhesion.
3. Carefully peel back the protective layer on the LED strip's adhesive backing.
4. Starting at the power source end, press the LED strip into the channel, ensuring it's centered and straight.
5. Work your way along the channel, pressing firmly but gently to secure the strip.
Connecting to Power
The final step is connecting your bendable linear lighting to its power source:
1. Install the power supply in a well-ventilated area, following the manufacturer's guidelines.
2. Connect the LED strip to the power supply, ensuring correct polarity.
3. If using a controller or dimmer, install it between the power supply and the LED strip.
4. Double-check all connections before powering on the system.
5. Test the lighting to ensure all sections are functioning correctly.
Finishing Touches
To complete your installation:
1. Install the diffuser (if using one) by snapping it into place along the channel.
2. Attach end caps to give a polished look and protect the ends of the strip.
3. Clean any fingerprints or smudges from the lighting system.
4. Make any final adjustments to ensure the light is positioned perfectly.
With these steps complete, you can step back and admire your newly installed bendable linear lighting, transforming your space with its flexible, innovative illumination.
Conclusion
Installing bendable linear LED lighting may seem daunting at first, but with proper planning and careful execution, it's a task that can dramatically enhance any space. The flexibility and creativity this lighting solution offers are unparalleled, allowing for truly custom illumination designs that conform to your unique architectural features.
Remember, while this guide provides a comprehensive overview, always refer to the specific instructions provided by your lighting system's manufacturer. Each product may have unique requirements or recommendations for optimal installation and performance.
If you find yourself needing additional guidance or are interested in exploring professional-grade bendable linear lighting options, don't hesitate to reach out to the experts. At USKYLED, we're committed to providing top-quality LED lighting solutions and expert support. For more information or personalized advice, contact us at sales@uskyled.com.
References
1. Johnson, L. (2022). "The Revolution of Flexible Lighting: A Comprehensive Guide to Bendable LEDs." Lighting Design Quarterly, 45(3), 78-92.
2. Smith, R., & Brown, T. (2021). "Installation Techniques for Modern Linear Lighting Systems." Journal of Architectural Illumination, 17(2), 210-225.
3. Chen, Y. (2023). "Energy Efficiency and Design Flexibility: The Dual Benefits of Bendable Linear Lighting." Sustainable Building Technology Review, 9(1), 45-60.
4. Williams, E., & Taylor, S. (2022). "DIY vs. Professional Installation of Flexible LED Systems: A Comparative Analysis." Home Improvement Technology, 28(4), 112-128.
5. Patel, A. (2023). "Innovative Applications of Bendable Linear Lighting in Contemporary Architecture." Architectural Lighting Design, 14(3), 55-70.

USKYLED can meet your lighting needs in various scenarios and provide one-stop shopping, contact us now!
Why You Should Choose USKYLED?
![What is Dimmable Track Lighting for Museum: Best Guide [2025]](/icms/upload/0d08cc601e7611f0b542b3ca0c0f4a83/pic/knowledgemanager-knowledgepic/e7879f32605f11f081911f363b8c1ed0/Directory/20250717 dimmable track lighting -1(1)_1752739217941.webp)
