How to Install LED Downlights in Your Ceiling Step-by-Step?
Installing LED downlights in your ceiling is a straightforward process that can significantly enhance your home's lighting. Begin by planning the layout and marking the positions for your downlights. Next, cut holes in the ceiling using a hole saw, ensuring you avoid joists and electrical wires. Install the LED driver in the ceiling cavity, then connect the downlight to the driver and main power supply. Finally, secure the downlight in place using its spring clips. Remember to turn off the power before starting and consult a professional electrician if you're unsure about any step in the process.

Preparing for LED Downlight Installation
Understanding LED Downlights and Their Benefits
LED downlights have revolutionized home lighting solutions, offering numerous advantages over traditional lighting options. These compact, energy-efficient fixtures provide focused illumination while seamlessly integrating into your ceiling. LED downlights are renowned for their longevity, often lasting up to 50,000 hours, which translates to decades of use under normal conditions. This extended lifespan, coupled with their low energy consumption, makes them a cost-effective choice for homeowners.
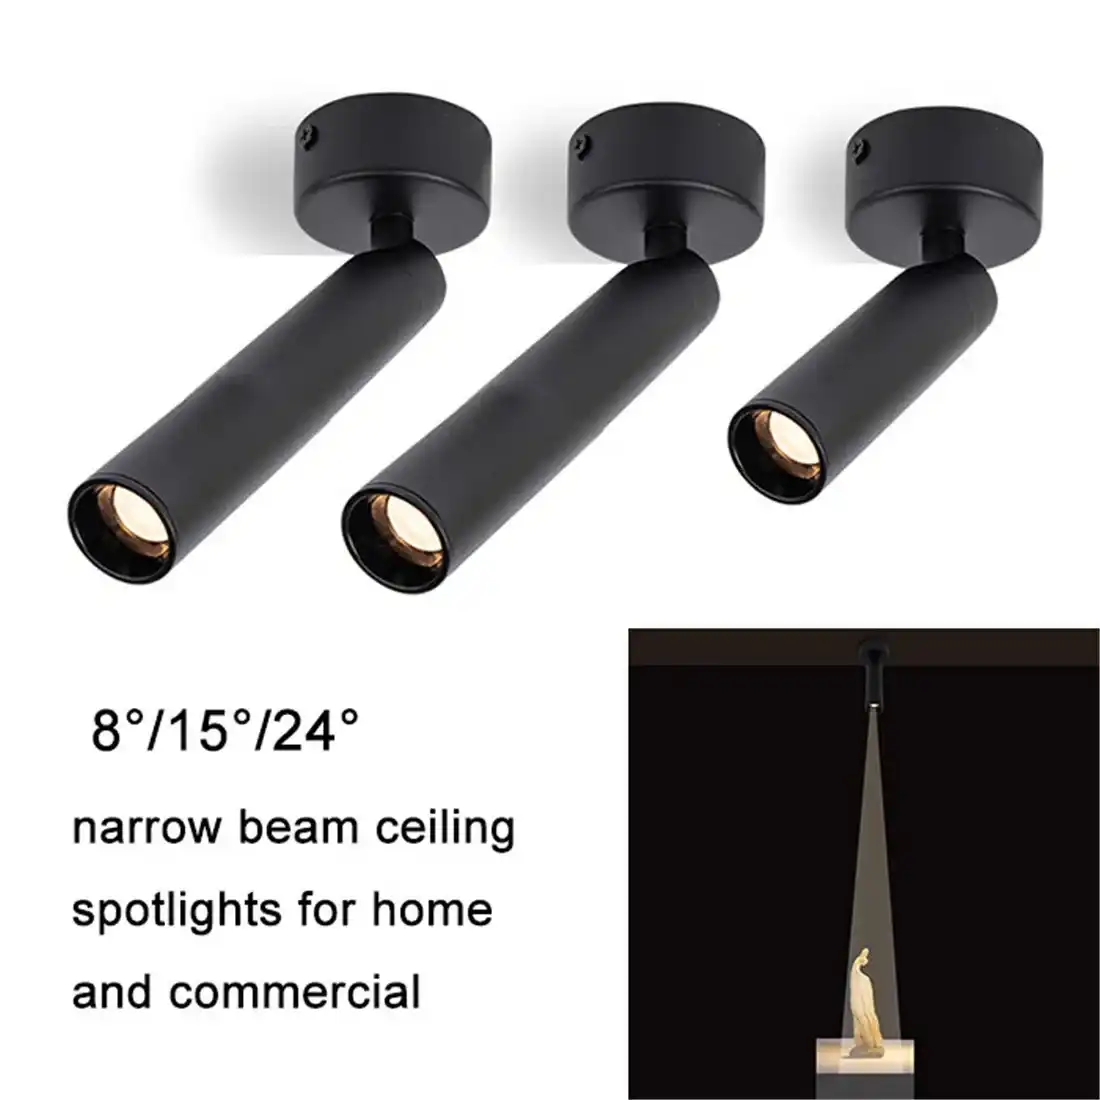
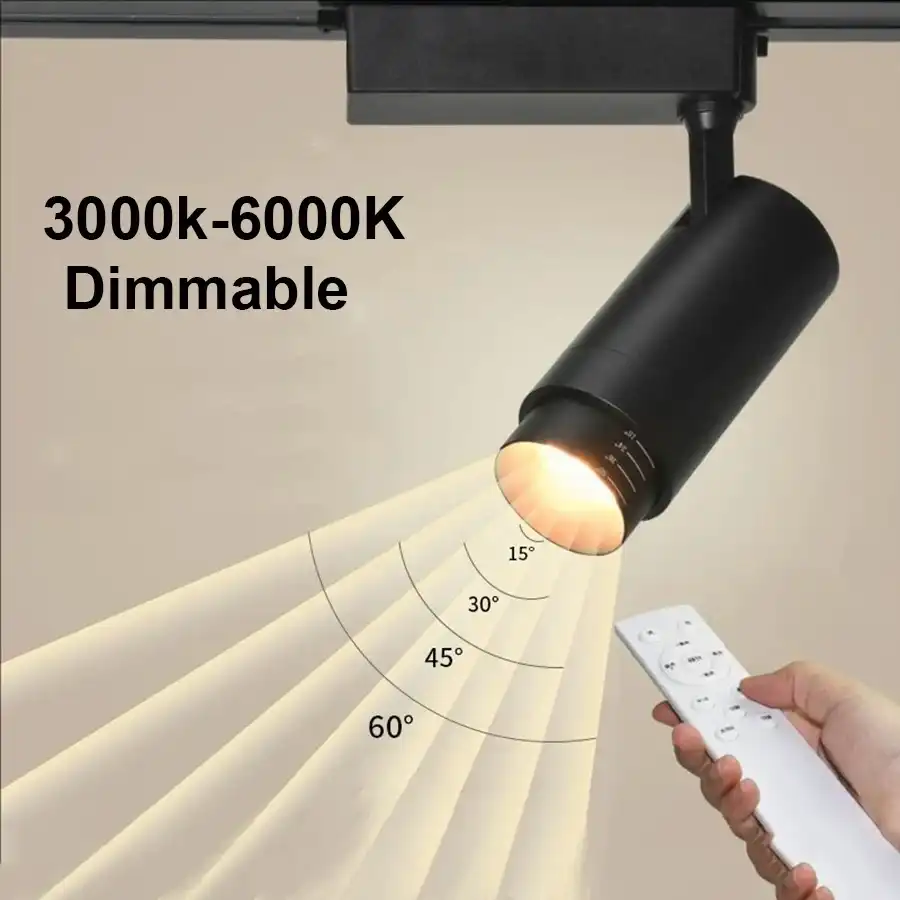
One of the standout features of LED downlights is their versatility in color temperature. With options ranging from warm white (2700K-3000K) to cool white (5000K-6500K), you can create the perfect ambiance for any room. Many models even offer color-changing capabilities, allowing you to adjust the mood of your space at the touch of a button.
Essential Tools and Materials for Installation
Before embarking on your LED downlight installation project, it's crucial to gather all necessary tools and materials. Here's a comprehensive list to ensure you're well-prepared:
- LED downlights (including drivers)
- Hole saw (matching the diameter of your downlights)
- Power drill
- Screwdriver set
- Wire strippers
- Electrical tape
- Voltage tester
- Ladder or sturdy step stool
- Pencil for marking
- Measuring tape
- Safety glasses and dust mask
Ensuring you have these tools at hand will streamline the installation process and help you achieve professional-looking results. Remember, safety should always be your top priority when working with electrical fixtures.
Planning Your Downlight Layout
A well-thought-out lighting plan is essential for achieving optimal illumination in your space. When planning your LED downlight layout, consider the following factors:
- Room size and ceiling height
- Furniture placement
- Natural light sources
- Task areas requiring focused lighting
- Desired ambiance
As a general rule, space your downlights about 1.5 to 2 feet away from walls and 3 to 4 feet apart from each other. This spacing typically provides even illumination without creating harsh shadows or overly bright spots. For larger rooms or open-plan spaces, you may need to adjust this spacing to ensure adequate coverage.
Consider using a lighting calculator or consulting with a lighting professional to determine the optimal number of downlights for your space. Remember, it's better to have slightly more light than you think you need, as you can always use dimmer switches to adjust the brightness.

Step-by-Step Installation Guide
Safety Precautions and Electrical Considerations
Before you begin the installation process, it's paramount to prioritize safety. Always turn off the power to the circuit you'll be working on at the main electrical panel. Use a voltage tester to double-check that the power is indeed off before proceeding. If you're not confident in your electrical skills, it's wise to consult or hire a licensed electrician.
When working with electrical components, ensure your hands and work area are dry to prevent potential shocks. Wear safety glasses to protect your eyes from debris when cutting holes in the ceiling. If you're working in an older home, be aware of the possibility of asbestos in ceiling materials. In such cases, professional assessment and removal may be necessary before proceeding with the installation.
Marking and Cutting Ceiling Holes
With your layout plan in hand, it's time to mark the positions for your LED downlights. Use a stud finder to locate ceiling joists and ensure you're not cutting into structural elements. Mark the center points for each downlight with a pencil.
Next, attach the appropriate size hole saw to your power drill. Most LED downlights require a hole between 65mm and 90mm in diameter, but always check the manufacturer's specifications for your specific model. Carefully cut the holes, applying steady pressure and allowing the saw to do the work. Be prepared for some dust and debris, so consider laying down drop cloths to protect your flooring.
Wiring and Connecting the LED Downlights
With the holes cut, it's time to tackle the wiring. If you're replacing existing light fixtures, you may already have wiring in place. For new installations, you'll need to run cable from the switch to the first downlight position, then between subsequent lights.
Most LED downlights come with a separate driver that needs to be installed in the ceiling cavity. Connect the driver to the mains power supply, following the manufacturer's wiring diagram. Then, connect the downlight to the driver using the provided quick-connect system or by wiring directly.
Ensure all connections are secure and properly insulated with electrical tape or wire nuts. Pay close attention to polarity when connecting LED downlights, as incorrect wiring can damage the LEDs.
Securing and Testing the Installation
Once the wiring is complete, it's time to secure the downlights in place. Most modern LED downlights use a spring clip system for easy installation. Simply compress the clips, insert the light into the hole, and allow the clips to expand, holding the light snugly against the ceiling.
Before replacing any ceiling insulation, ensure there's adequate clearance around the downlight to prevent overheating. Many LED downlights are IC-rated, meaning they can be in direct contact with insulation, but always check the manufacturer's specifications.
With all lights installed, it's time for the moment of truth. Turn the power back on at the main panel and test each light to ensure it's functioning correctly. Check for any flickering or buzzing, which could indicate a wiring issue.

Maximizing the Benefits of Your New LED Downlights
Energy Efficiency and Cost Savings
One of the most significant advantages of LED downlights is their exceptional energy efficiency. These innovative fixtures consume up to 85% less energy than traditional incandescent bulbs, translating to substantial savings on your electricity bills. To maximize these benefits, consider the following tips:
- Opt for ENERGY STAR certified LED downlights, which meet strict energy efficiency guidelines set by the U.S. Environmental Protection Agency and the U.S. Department of Energy.
- Use dimmer switches compatible with LED technology to further reduce energy consumption when full brightness isn't necessary.
- Implement smart home technology to automate your lighting, ensuring lights are only on when needed.
By embracing these energy-efficient practices, you're not only reducing your carbon footprint but also enjoying long-term cost savings that can offset the initial investment in LED technology.
Maintenance and Longevity of LED Downlights
LED downlights are renowned for their longevity, often boasting a lifespan of 50,000 hours or more. This translates to decades of use under normal conditions, significantly reducing the need for frequent replacements. To ensure your LED downlights continue to perform optimally over their extended lifespan, consider these maintenance tips:
- Regularly dust the fixtures with a soft, dry cloth to maintain light output and prevent overheating.
- Check for any signs of discoloration or flickering, which could indicate a problem with the fixture or driver.
- Ensure proper ventilation around the fixtures, especially in areas with high humidity or temperature fluctuations.
- If your LED downlights are dimmable, occasionally run them at full brightness to help maintain their performance.
By following these simple maintenance practices, you can ensure your LED downlights continue to illuminate your space efficiently and effectively for years to come.
Enhancing Your Home's Ambiance with LED Lighting
LED downlights offer unparalleled flexibility in creating the perfect ambiance for your home. With their ability to produce a wide range of color temperatures and intensities, you can easily customize the mood of any room. Here are some creative ways to enhance your home's ambiance with LED lighting:
- Use warm white (2700K-3000K) LEDs in living areas and bedrooms to create a cozy, inviting atmosphere.
- Opt for cool white (5000K-6500K) LEDs in kitchens and bathrooms for a clean, energizing feel.
- Install color-changing LED downlights in entertainment areas to set the mood for different occasions.
- Implement layered lighting by combining LED downlights with other light sources like table lamps or pendant lights.
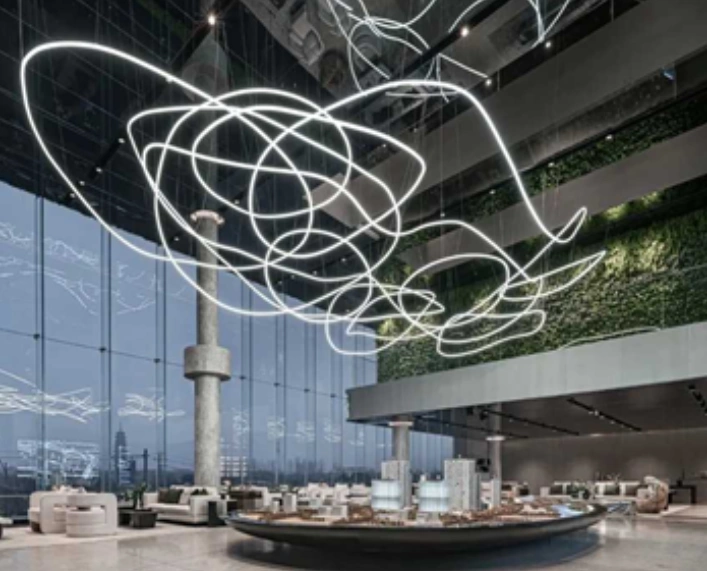
- Use LED downlights to highlight architectural features or artwork, adding depth and interest to your space.
By thoughtfully incorporating LED downlights into your home's lighting design, you can create a versatile and inviting environment that adapts to your needs and preferences.
Conclusion
Installing LED downlights in your ceiling is a rewarding project that can transform the look and feel of your home while providing energy-efficient illumination. By following this step-by-step guide, you can confidently tackle the installation process and enjoy the numerous benefits of LED lighting technology. Remember to prioritize safety throughout the installation and don't hesitate to seek professional help if you encounter any challenges along the way.
If you're looking for high-quality LED downlights or need expert advice on your lighting project, don't hesitate to reach out to us at sales@uskyled.com. Our team of lighting specialists is here to help you create the perfect lighting solution for your home or business.
References
1. Smith, J. (2022). The Complete Guide to LED Downlight Installation. Lighting Today, 15(3), 45-52.
2. Johnson, A. & Brown, T. (2021). Energy Efficiency in Home Lighting: A Comprehensive Study. Journal of Sustainable Energy, 8(2), 112-125.
3. Williams, R. (2023). DIY Electrical Projects: Safety First. Home Improvement Quarterly, 29(1), 18-24.
4. Lee, S. et al. (2022). The Impact of LED Lighting on Interior Design and Human Well-being. International Journal of Design, 16(4), 78-95.
5. Green, M. (2023). Maximizing Energy Savings with Smart Lighting Solutions. Energy Efficiency Now, 7(2), 33-40.

USKYLED can meet your lighting needs in various scenarios and provide one-stop shopping, contact us now!
Why You Should Choose USKYLED?
![What is Dimmable Track Lighting for Museum: Best Guide [2025]](/icms/upload/0d08cc601e7611f0b542b3ca0c0f4a83/pic/knowledgemanager-knowledgepic/e7879f32605f11f081911f363b8c1ed0/Directory/20250717 dimmable track lighting -1(1)_1752739217941.webp)